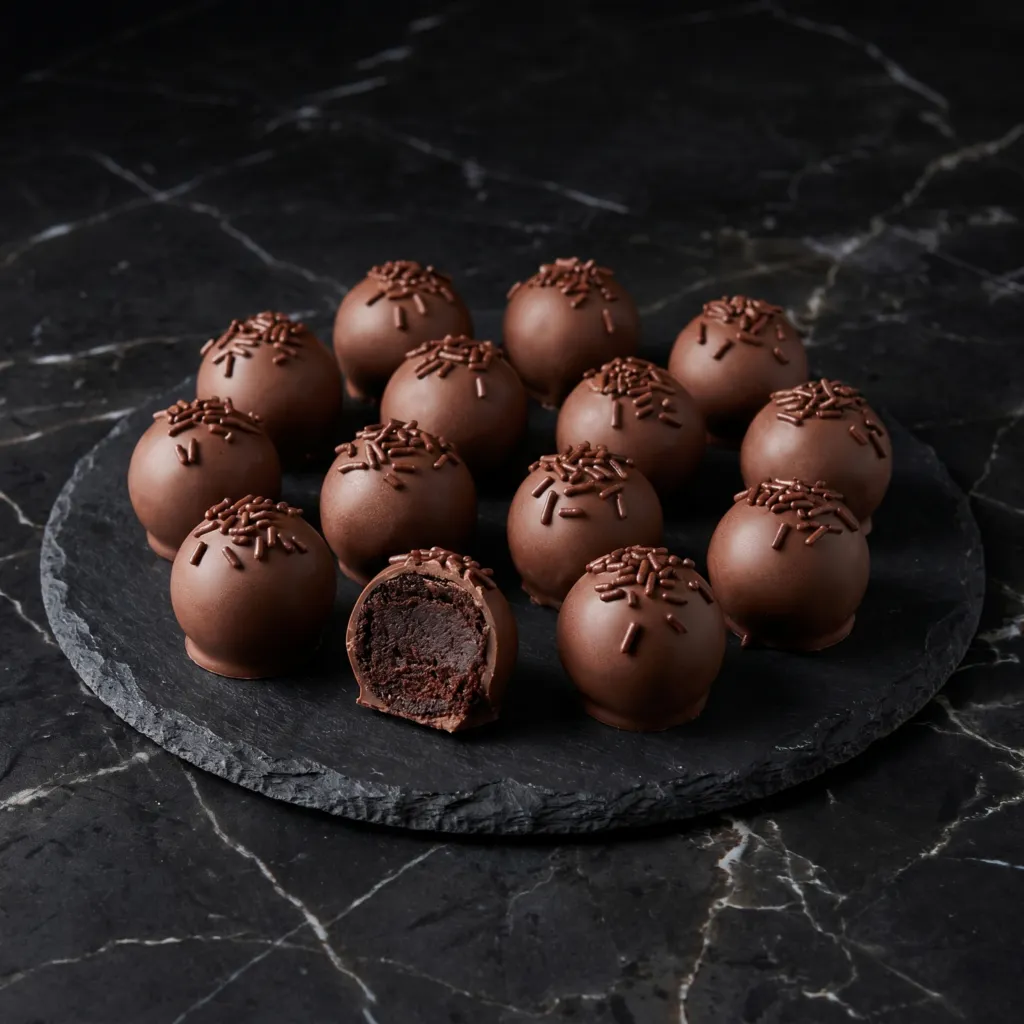
Let’s be honest: cake pops are just fun. They’re adorable, they’re portable, they’re bite-sized, and they’re absolutely delicious. Rich, moist chocolate cake mixed with creamy frosting, rolled into perfect little balls, dipped in chocolate, and covered with sprinkles—what’s not to love?
They’re the life of the party, the treat that makes everyone smile, and surprisingly easy to make at home. No special equipment required, just a little patience and a whole lot of sprinkles. Whether you’re making them for birthdays, holidays, or just because, these chocolate cake pops are guaranteed to disappear fast. Let’s get popping.
The Secret to Perfect, Never-Falling-Apart Cake Pops
The biggest challenge with cake pops is keeping them on the stick. The secret is the right cake-to-frosting ratio. Too much frosting and they’ll be too soft to stay on the stick; too little and they’ll be dry and crumbly. You want the mixture to hold together when rolled but not be sticky or greasy.
The other secret? Chill them thoroughly. Cold cake pops are much easier to dip—the warm chocolate won’t make them slide off the stick. And when you’re dipping, tap off excess chocolate gently and let them set upright. Patience and chill are your best friends. Follow these rules, and your cake pops will be picture-perfect.
Instructions
Crumble the Cake
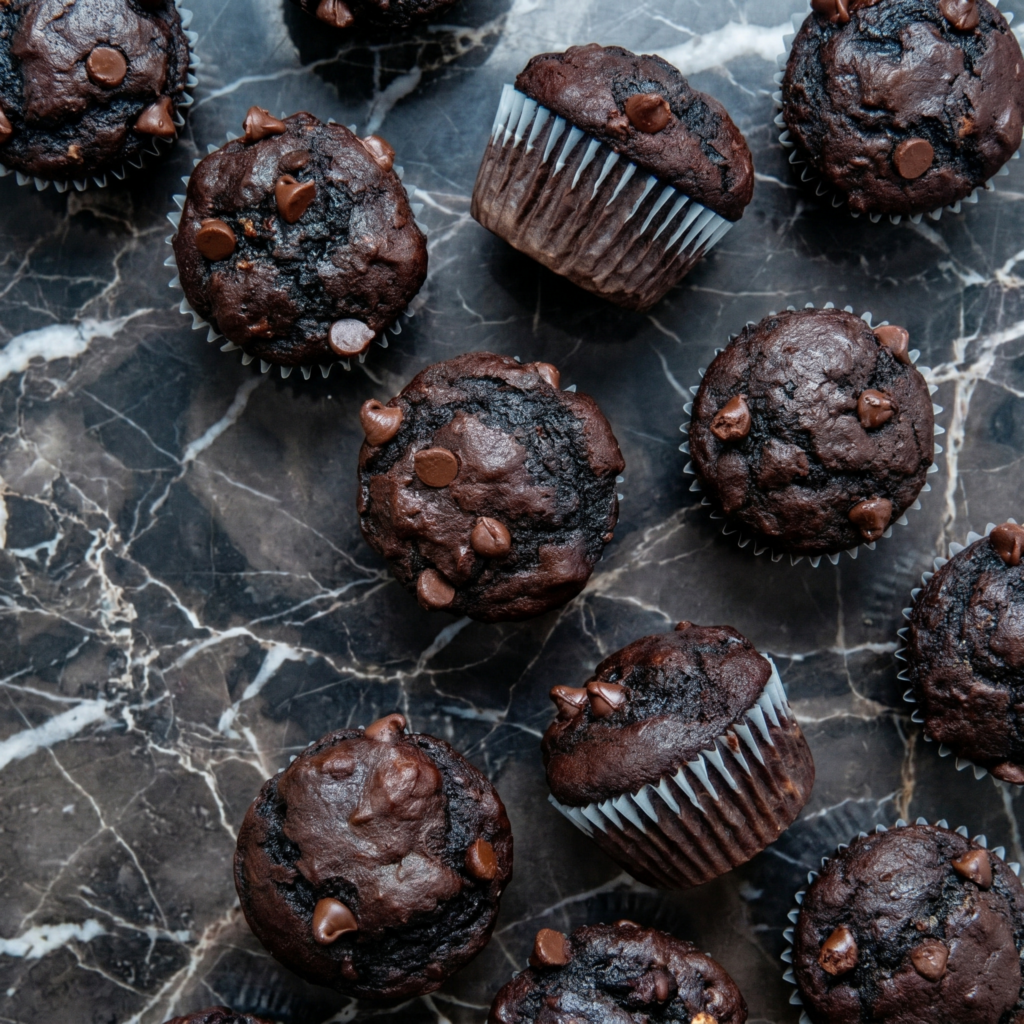
Break the cooled cake into large chunks and place in a large bowl. Use your hands or a fork to crumble it into fine crumbs. No large chunks should remain.
Add Frosting
Add the chocolate frosting to the crumbled cake. Mix with a spatula or your hands until the mixture is well combined and holds together when pressed. It should feel like thick, moist dough.
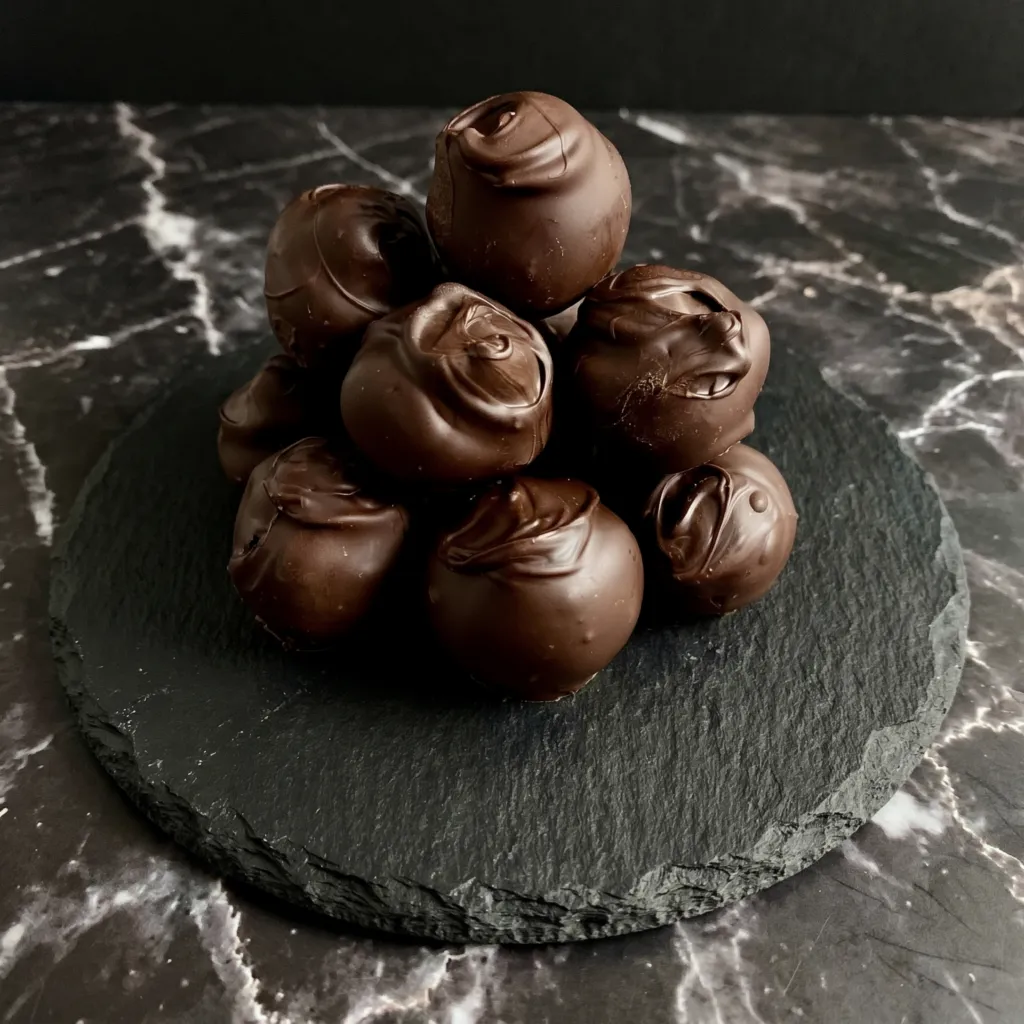
Roll into Balls
Roll the mixture into 1 to 1.5-inch balls and place them on a parchment-lined baking sheet. You should get about 30-40 balls.
Chill
Refrigerate the cake balls for at least 1-2 hours, or freeze for 30 minutes, until they’re firm and cold. This step is essential for dipping.
Melt the Chocolate
Place the chocolate chips (or candy melts) and coconut oil in a microwave-safe bowl. Microwave in 30-second bursts, stirring between each, until completely smooth. Transfer to a deep, narrow cup or glass for easier dipping.
Dip the Sticks
Remove a few cake balls from the fridge at a time (keep the rest cold). Dip the tip of a lollipop stick into the melted chocolate, then insert it about halfway into a cake ball. This “glues” the stick in place.
Dip the Cake Pops
Holding the stick, dip the cake ball into the melted chocolate until completely covered. Gently tap and rotate to allow excess chocolate to drip off. Be careful not to let the cake ball fall off the stick.
Add Sprinkles
While the chocolate is still wet, sprinkle with decorations. Place the cake pop upright in a styrofoam block or stand to set.
Repeat
Continue with the remaining cake pops, working in small batches and remelting chocolate as needed.
Let Set Completely
Allow the cake pops to set completely at room temperature or in the fridge.
Serve and Store
Serve at room temperature. Store in an airtight container in the refrigerator for up to 1 week, or freeze for up to 3 months.
Pro-Tips for Cake Pop Greatness
- Don’t Over-Frost: Start with less frosting and add more if needed. The mixture should hold together but not be greasy.
- Chill Thoroughly: Cold cake pops are much easier to dip. Work in small batches, keeping the rest in the fridge.
- Use a Deep Cup for Dipping: A narrow, deep glass or cup makes it easier to fully submerge the cake pop.
- Tap Off Excess: Gently tap the stick against the edge of the cup to let excess chocolate drip off. This prevents thick, lumpy coatings.
- Get Creative: Use different chocolate colors, drizzle with contrasting chocolate, and experiment with sprinkles, nuts, and decorations. Each pop can be its own little work of art.