Baking sourdough is more than a recipe; it’s a rhythmic partnership with wild yeast. This guide focuses on the essential process, helping you transform just flour, water, salt, and a lively starter into a loaf with a crackling crust, a chewy, tangy crumb, and the profound satisfaction of true craftsmanship.
While it requires time and attention, the steps are simple and the result—a deeply flavored, beautifully textured bread made with your own hands—is unparalleled. Embrace the slow pace and discover the joy of pulling a perfectly baked, blistered boule from your own oven.
The Science of Wild Yeast & Gluten Development
Sourdough’s unique qualities come from fermentation. A mature sourdough starter is a stable ecosystem of wild yeast and lactic acid bacteria. The yeast consumes the flour’s sugars, producing carbon dioxide gas that makes the bread rise. The bacteria produce lactic and acetic acids, giving sourdough its characteristic tang and helping strengthen the gluten network.
The long, slow bulk fermentation (first rise) is crucial. It allows for deep flavor development and gives enzymes time to break down complex carbohydrates, making the bread more digestible and its nutrients more available.
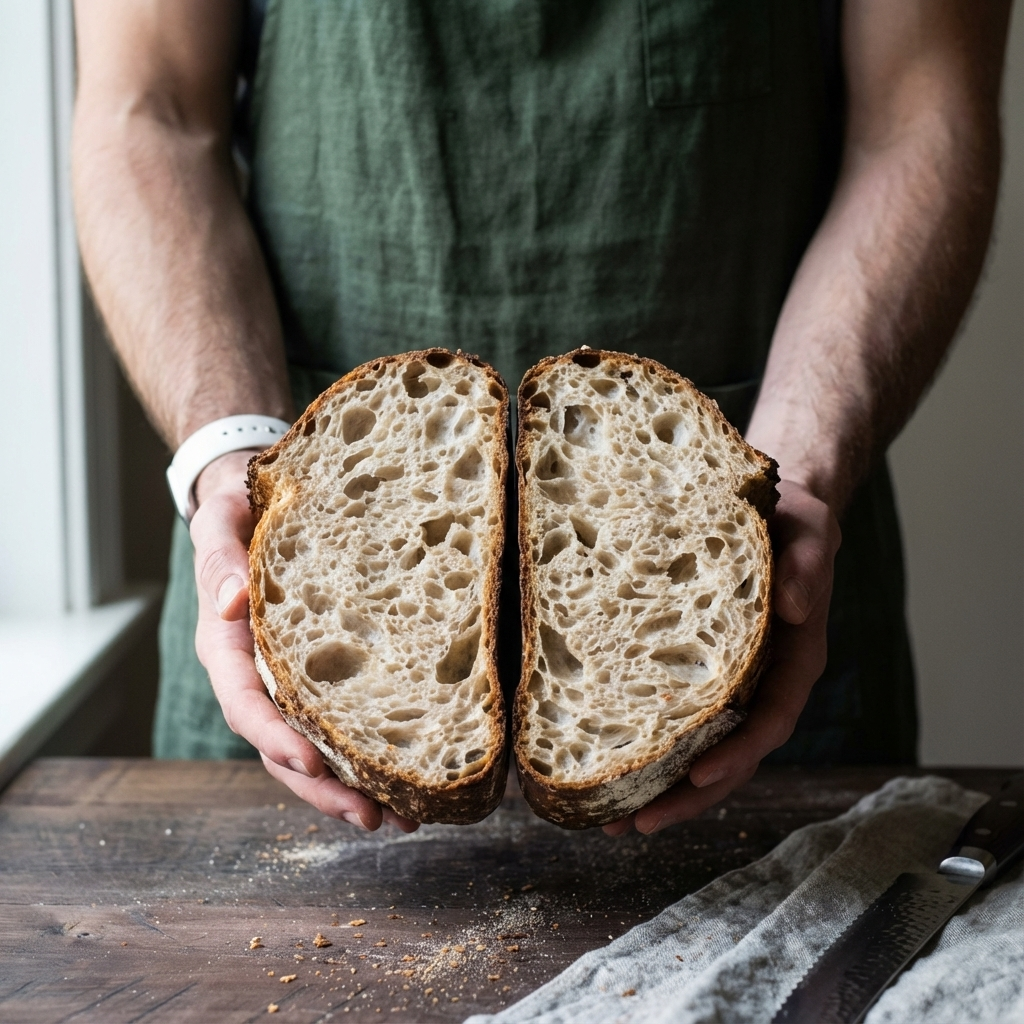
The process of stretch and folds replaces kneading; it gently organizes the gluten strands into a strong, elastic network capable of trapping the gas bubbles, which creates the open, irregular crumb. Baking in a preheated Dutch oven traps steam from the dough, crucial for achieving a shiny, crackly crust and optimal oven spring.
Instructions (Two-Day Process)
Day 1: Mix & Bulk Fermentation
Autolyse (Rest)
In a large bowl, mix the flour and water until no dry bits remain. Cover and let rest for 30-60 minutes. This hydrates the flour and begins gluten development.
Mix Dough
Add the active starter and salt to the bowl. Use wet hands to pinch and fold the dough until everything is fully incorporated.
Stretch & Folds
Over the next 2-3 hours, perform 4-6 sets of “stretch and folds.” Every 30 minutes, wet your hand, grab one side of the dough, stretch it up, and fold it over the center. Turn the bowl and repeat on all sides. The dough will become smoother and stronger.
Bulk Ferment
After the final fold, cover the bowl and let the dough rise at room temperature (70-75°F) until it has increased by about 50-75% and looks bubbly. This can take 4-8 hours depending on temperature and starter strength.
Day 1 Continued: Shape & Cold Proof
Preshape & Bench Rest
Gently turn the dough onto a lightly floured surface. Shape into a loose round. Cover and let rest for 20-30 minutes.
Final Shape
Shape the dough into a tight boule or batard. Place it seam-side up into a proofing basket (banneton) liberally dusted with rice flour or all-purpose flour.
Cold Proof
Cover and refrigerate for 12-16 hours (overnight). This slow, cold fermentation develops exceptional flavor and makes the dough easier to score.
Day 2: Bake
Preheat
Place a Dutch oven with its lid on into your oven. Preheat to 500°F (260°C) for at least 45 minutes.
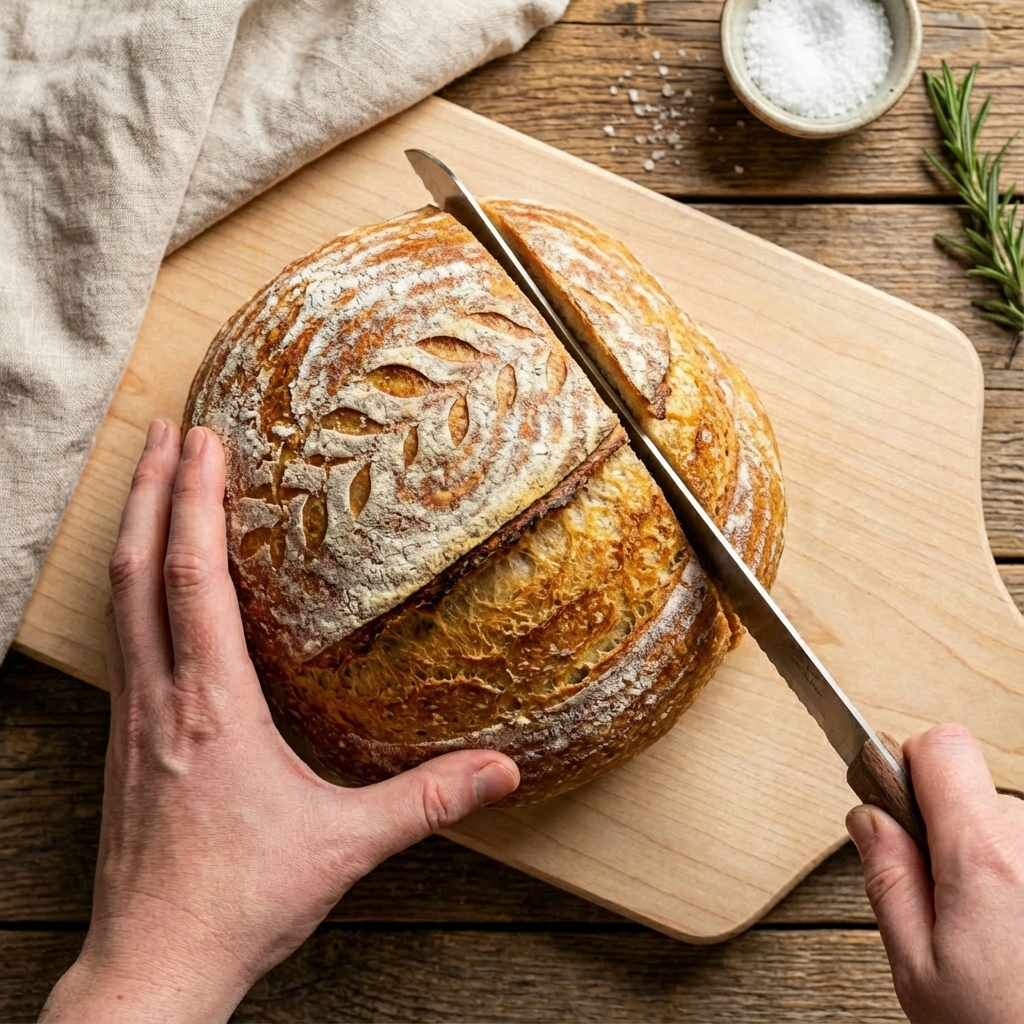
Score & Bake
Carefully remove the hot Dutch oven. Turn the cold dough out onto parchment paper. Use a razor blade (lame) to make one confident slash about ½-inch deep. Use the parchment as a sling to lower the dough into the Dutch oven. Cover with the lid.
Bake Covered
Bake at 500°F for 20 minutes. Then, reduce oven to 450°F (230°C), remove the lid, and bake for another 20-25 minutes until deeply, evenly browned.
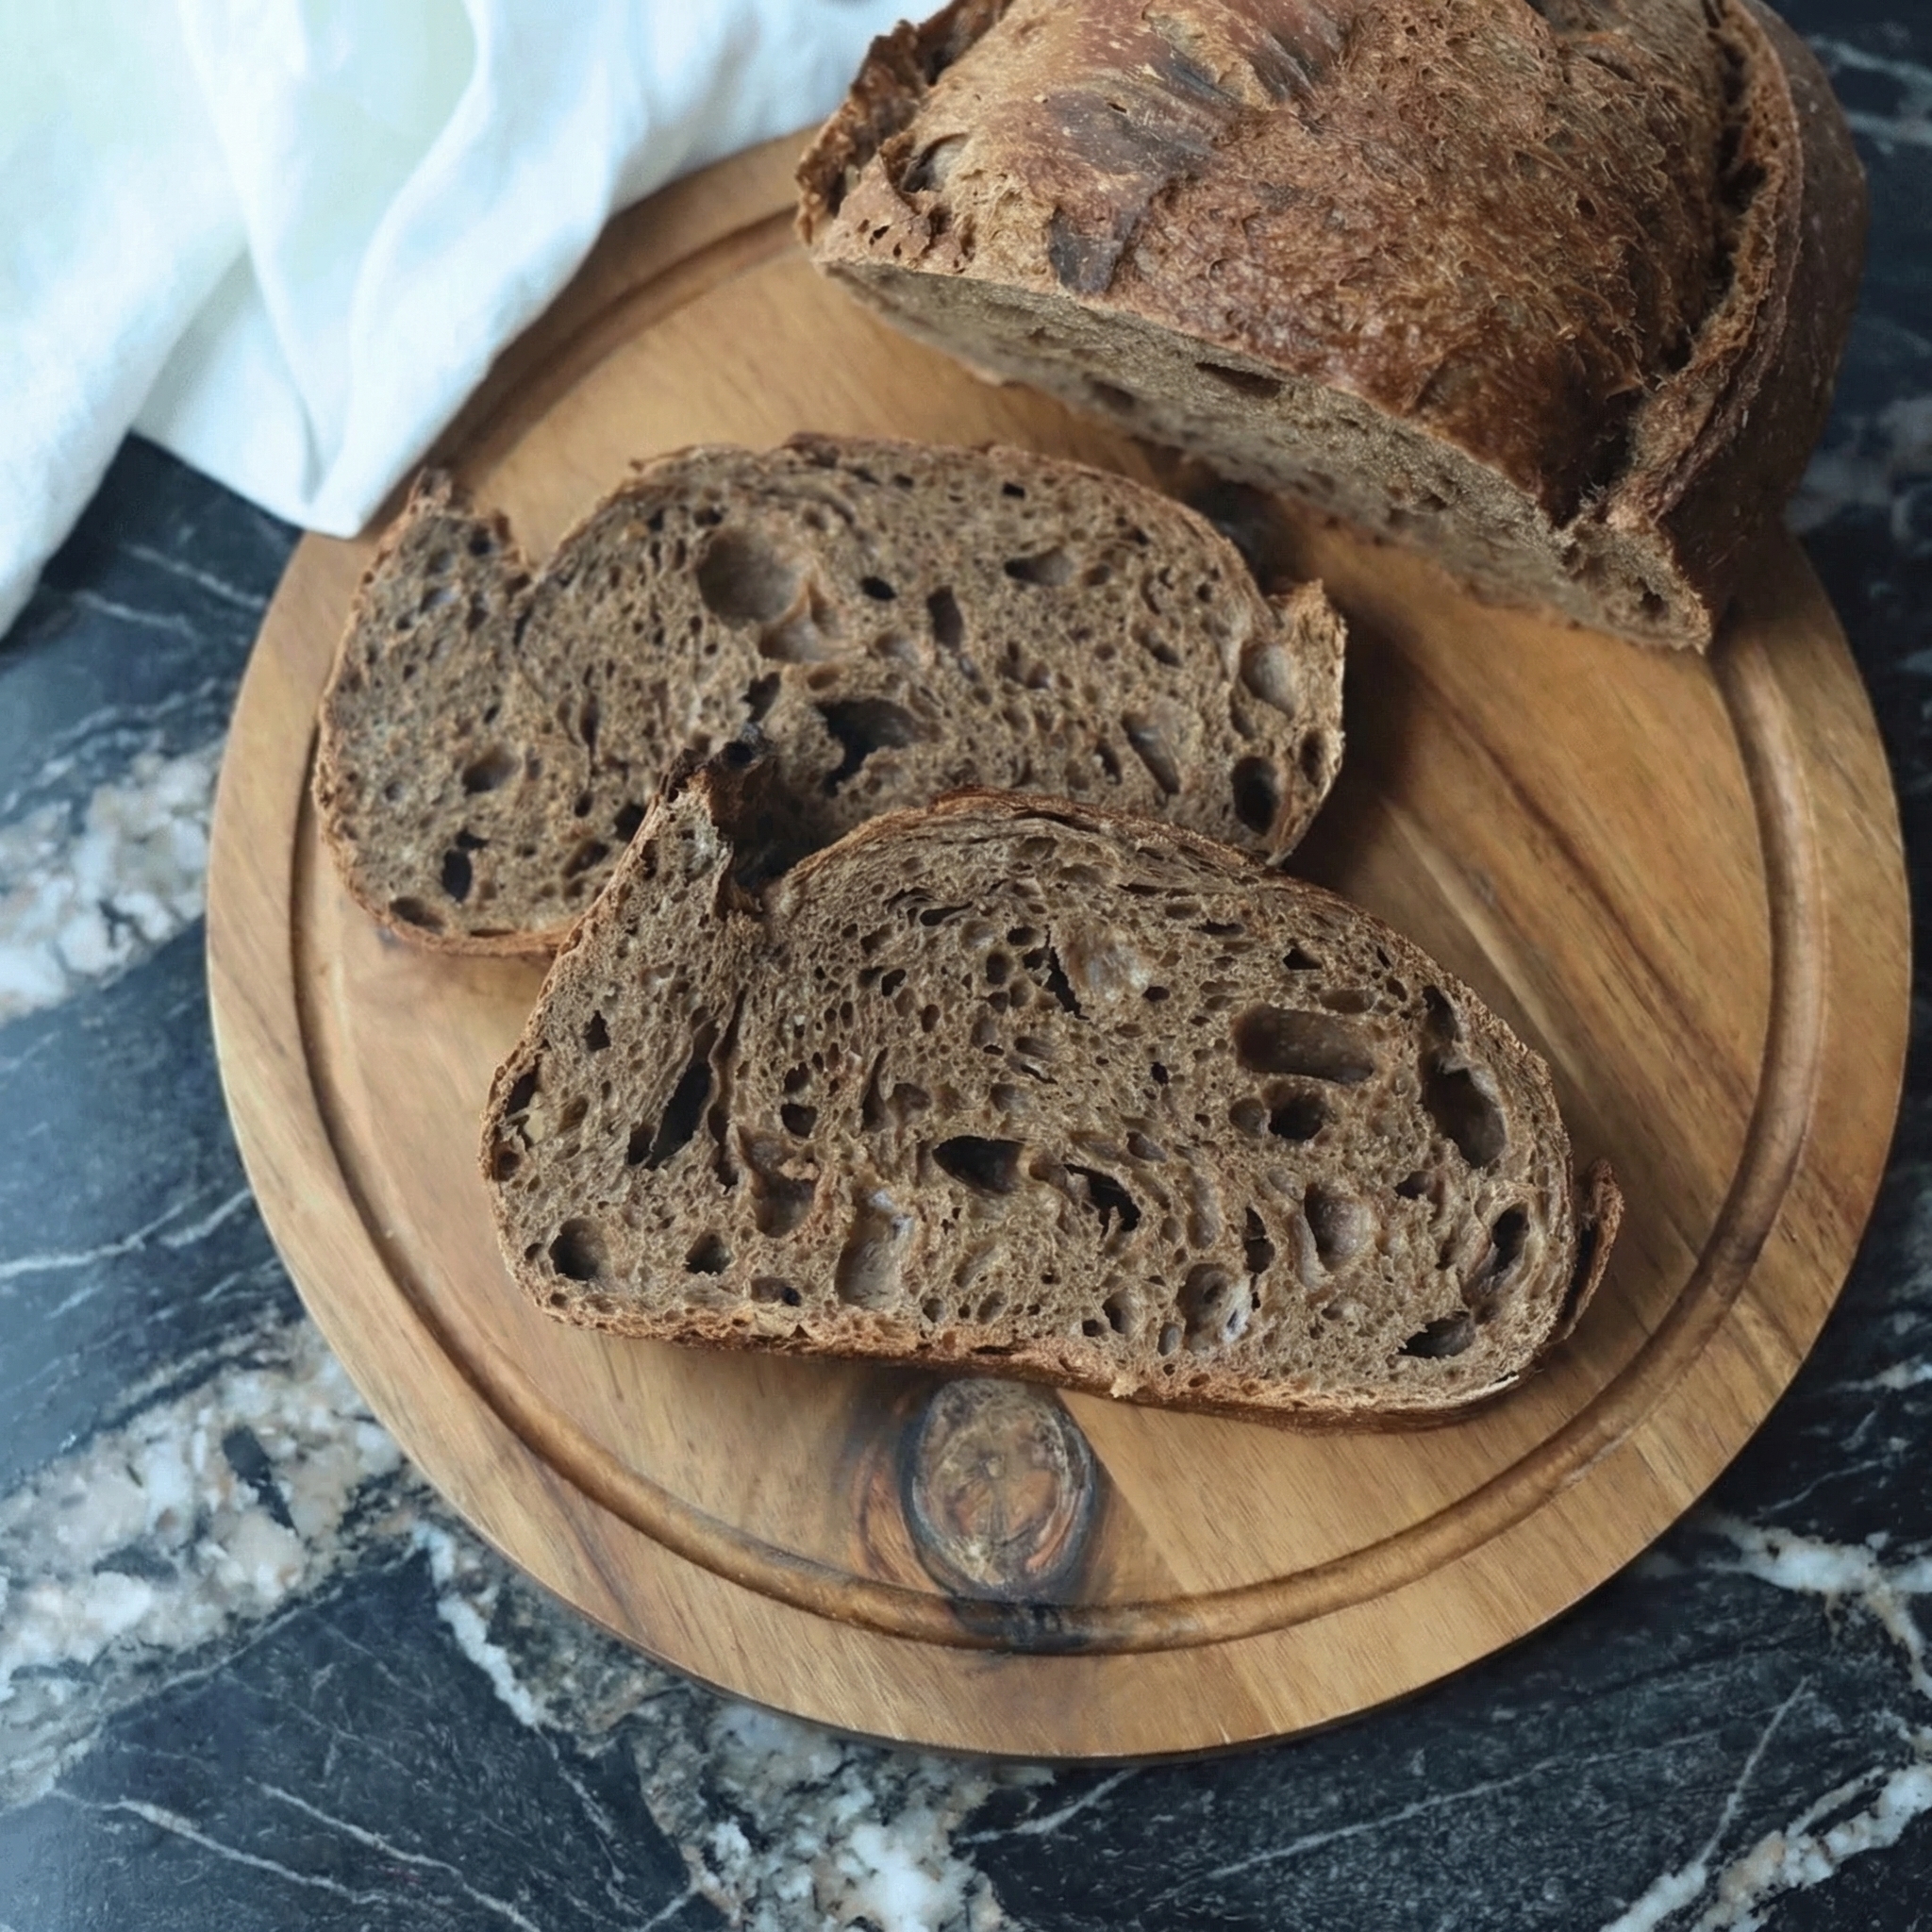
Cool
Transfer the loaf to a wire rack and let it cool completely (at least 2-3 hours) before slicing. The interior is still setting as it cools.
Pro-Tips for Sourdough Success
- Start with an Active Starter: Your starter should be at its peak (doubled in size, bubbly, and passes the float test) when you use it.
- Watch the Dough, Not the Clock: Fermentation time depends entirely on your kitchen’s temperature. Look for the 50-75% increase in volume as your cue.
- Use a Scale: Baking by weight (grams) is essential for accuracy and consistent results.
- Don’t Skip the Cold Proof: The overnight fridge rest is the easiest way to develop complex sour flavor and a better crumb structure.
- Steam is Essential: The sealed Dutch oven creates its own steam chamber. This is non-negotiable for good oven spring and crust.
- Score with Confidence: A quick, deep slash allows the bread to expand properly in the oven. Hesitation leads to ragged tears.
- Patience in Cooling: Cutting into a hot loaf releases steam and turns the crumb gummy. The wait is worth it.
- Embrace Imperfection: Every loaf is a lesson. Variables abound. Enjoy the process as much as the product.
This Simple Sourdough Bread is your gateway to a lifelong baking journey.