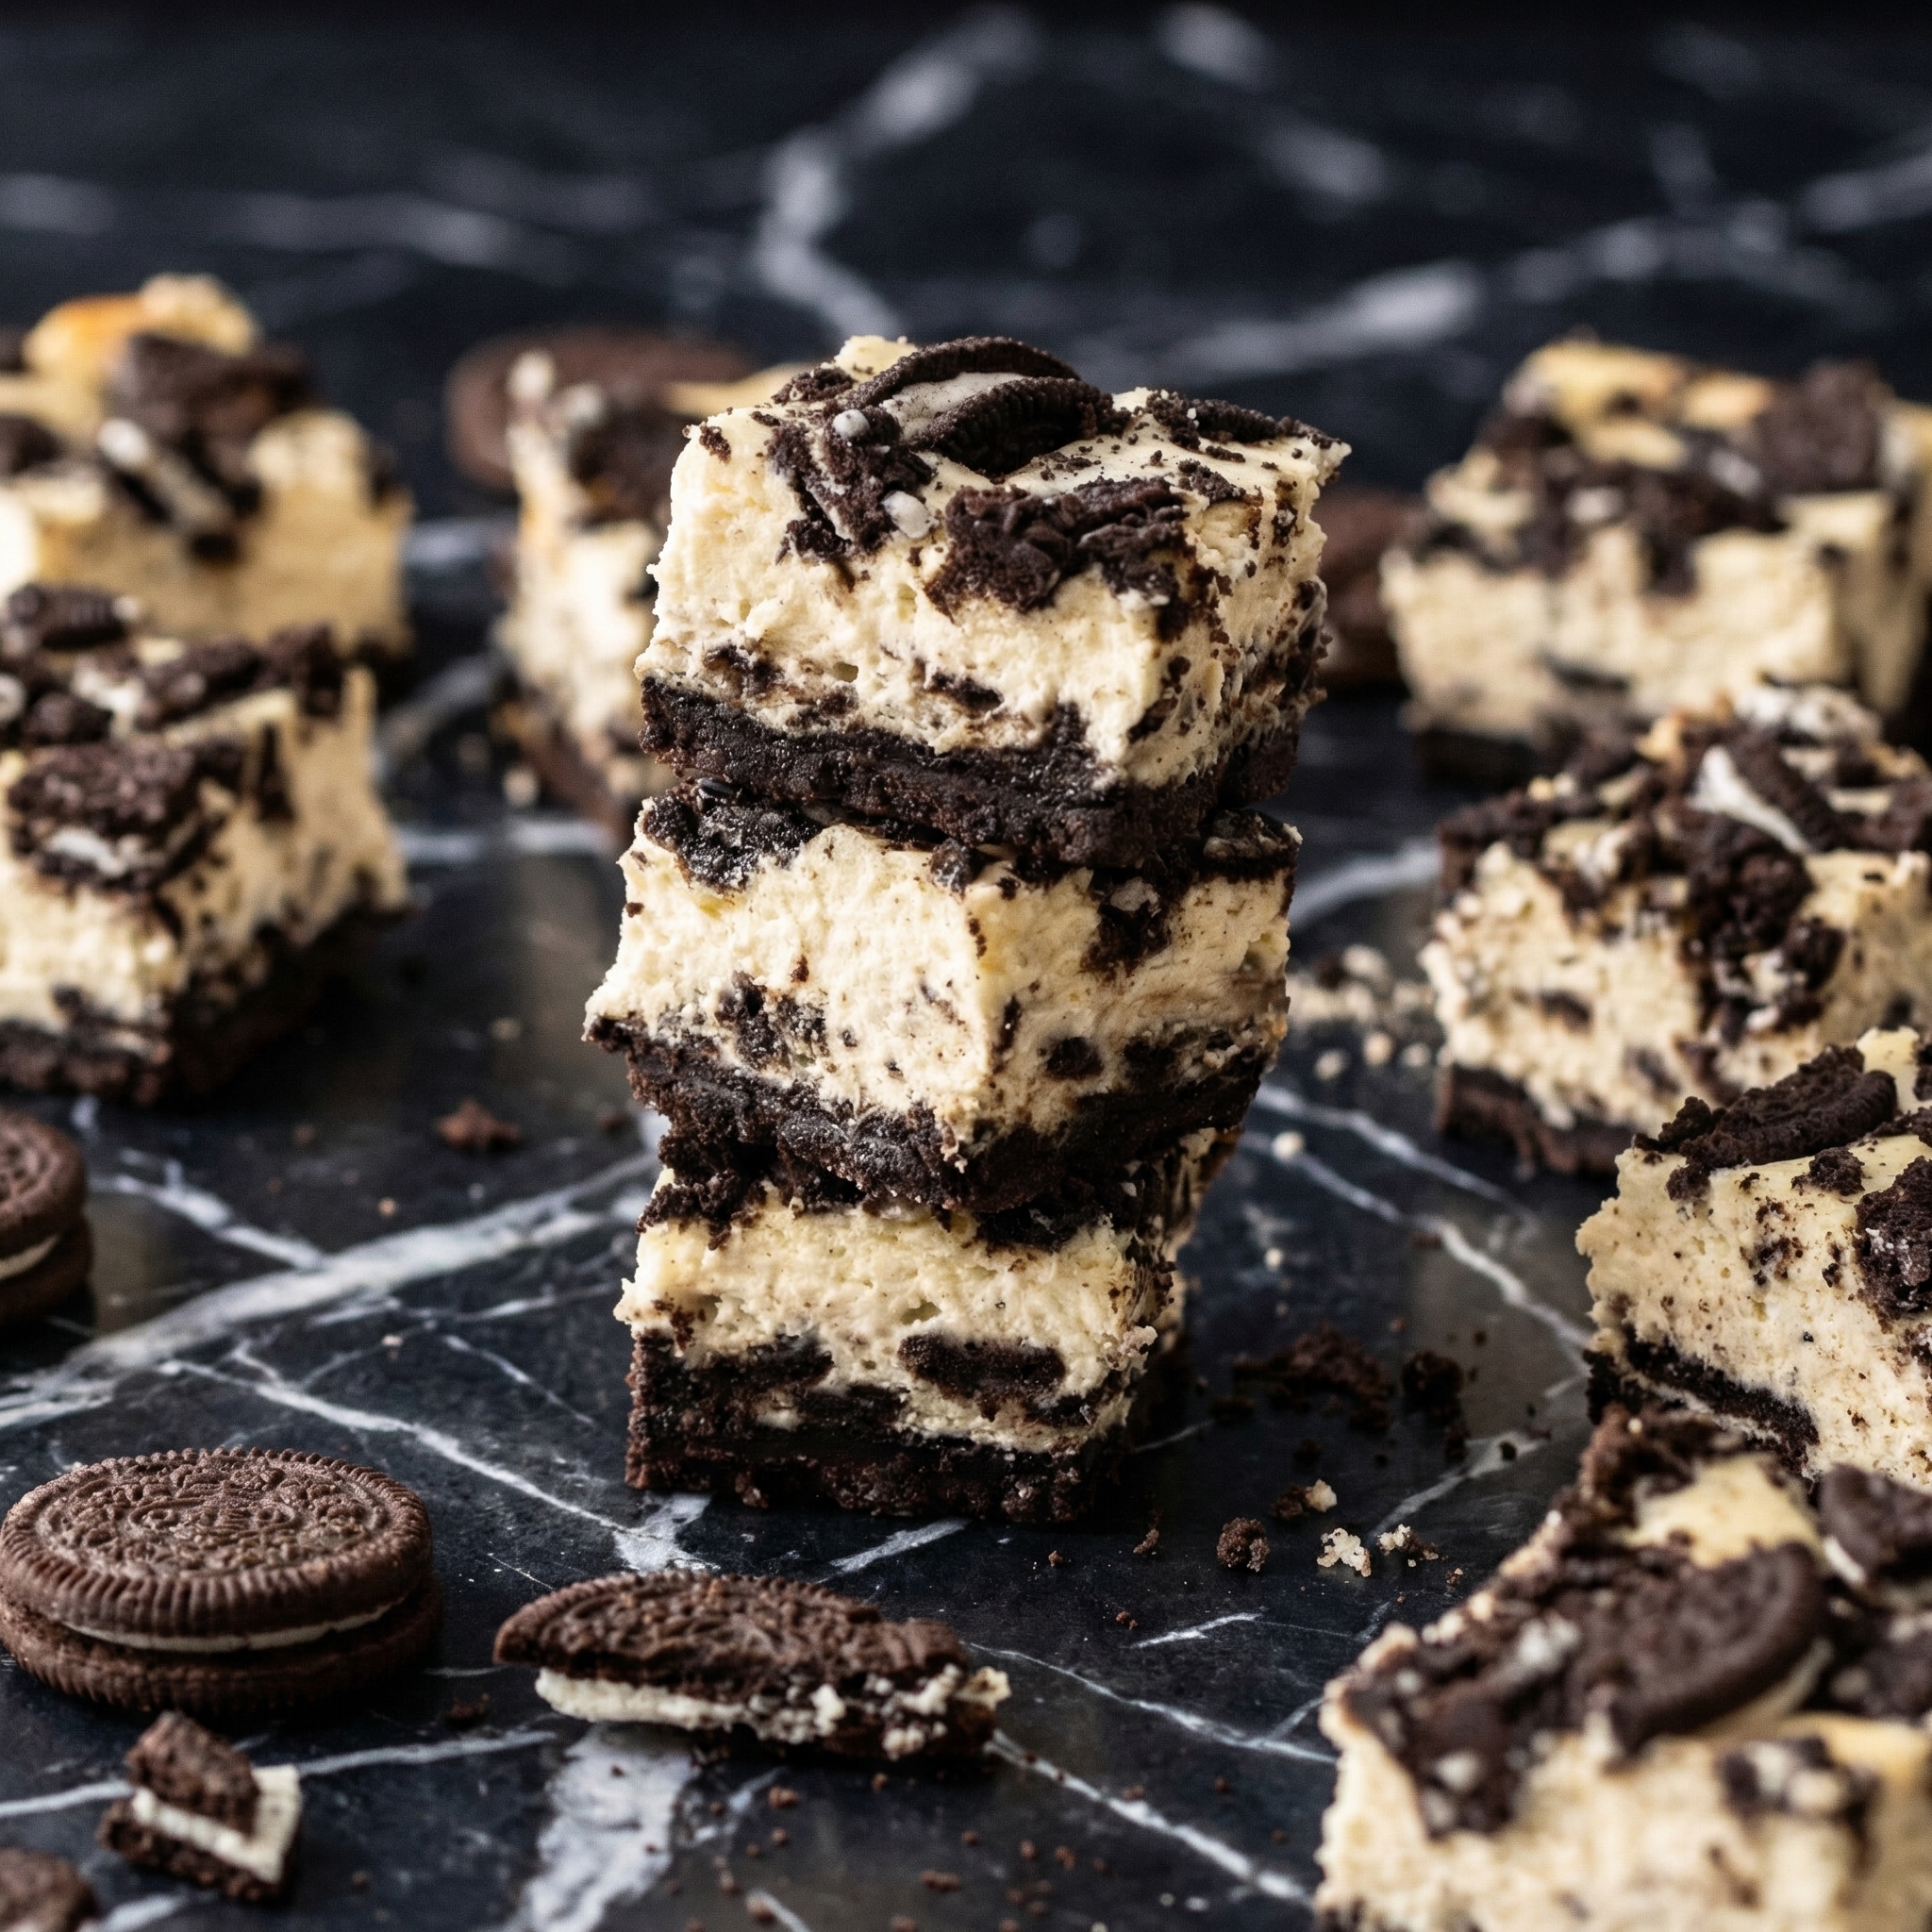
This Oreo Cake is a showstopper that requires zero baking and minimal effort, yet delivers maximum impact. By layering crushed Oreo cookies with a cloud-like whipped cream cheese filling, you create a dessert that transforms in the fridge. The cookies soften into a cake-like texture, while the filling sets into a light, mousse-like consistency.
The result is a stunning, elegant layered cake that tastes like the most decadent Oreo cheesecake you can imagine. It’s the perfect make-ahead dessert for summer parties, potlucks, or any occasion where you want something impressively delicious without turning on the oven.
The Science of the No-Bake Set
The magic of this cake lies in moisture migration and fat stabilization. The whipped filling is a stable emulsion of cream cheese, sugar, and heavy cream. When whipped, the cream traps air and the cream cheese provides structure, creating a light yet firm foam.
As the cake chills, the moisture from the filling slowly seeps into the porous cookie crumbs. This softens the cookies, turning them from crunchy to tender, similar to the base of a cheesecake. Simultaneously, the cold temperature solidifies the fats in both the filling and the cookies, allowing the layers to hold their distinct structure when sliced.
This process, called an icebox cake, relies on time and refrigeration rather than heat to create its signature texture, making it foolproof and consistently perfect.
The Prepared Springform Pan
Lightly grease the bottom and sides of an 8-inch or 9-inch springform pan. Line the bottom with a circle of parchment paper for easy removal.
The Finely Crushed Oreo Crumbs
Place about 10 Oreo cookies (creams included) in a food processor. Pulse until they form fine, uniform, dark crumbs. Set aside for the final topping.
The Coarsely Crushed Cookie Layers
For the main layers, crush the remaining Oreos. You want a mix of textures: some fine crumbs and some small, pebble-sized chunks. This creates the best cake-like texture. A zip-top bag and rolling pin work perfectly.
The Light & Fluffy Cream Cheese Base
In a large bowl using an electric mixer, beat the softened cream cheese, powdered sugar, vanilla, and salt on medium-high speed until completely smooth, light, and fluffy, about 2-3 minutes.
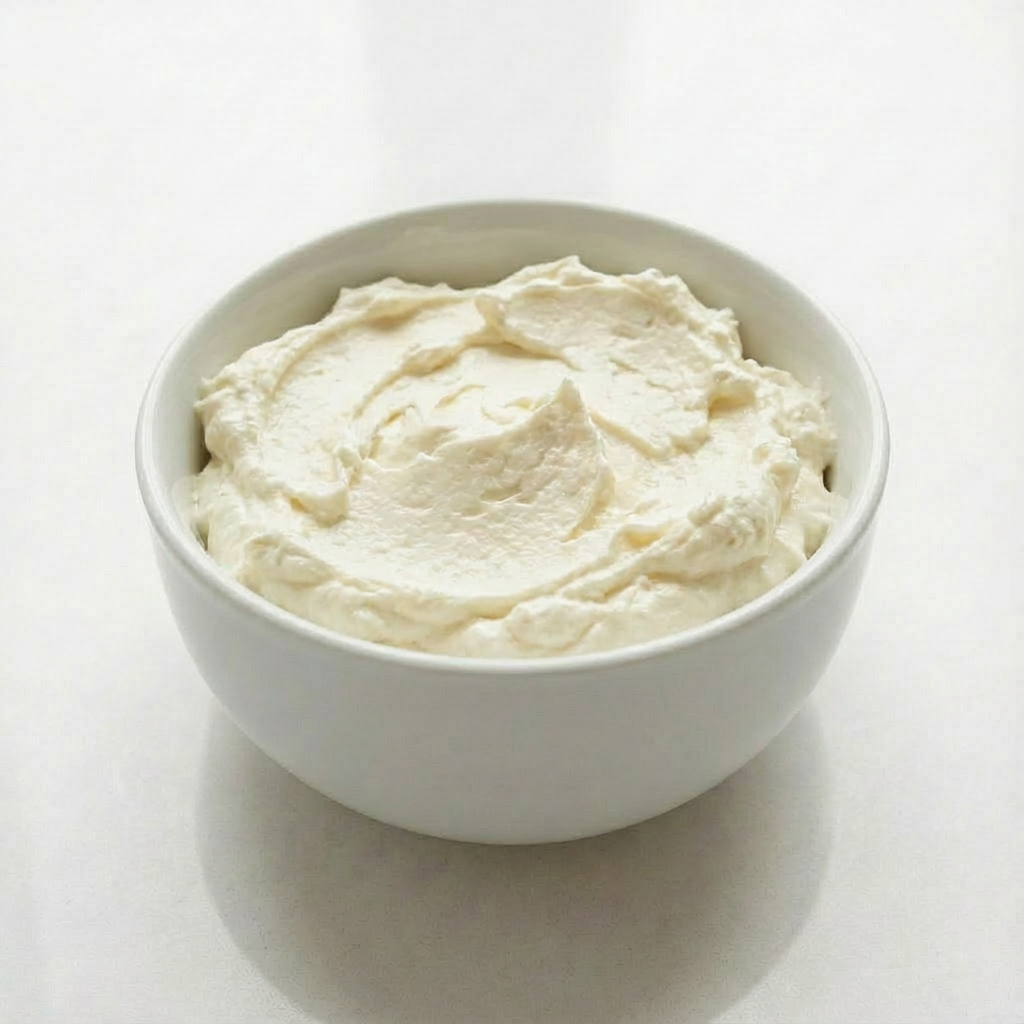
The Finished Whipped Filling
In a separate chilled bowl, whip the cold heavy cream to stiff peaks. Gently fold about one-third of the whipped cream into the cream cheese mixture to lighten it. Then, fold in the remaining whipped cream until no white streaks remain and the mixture is homogenous.
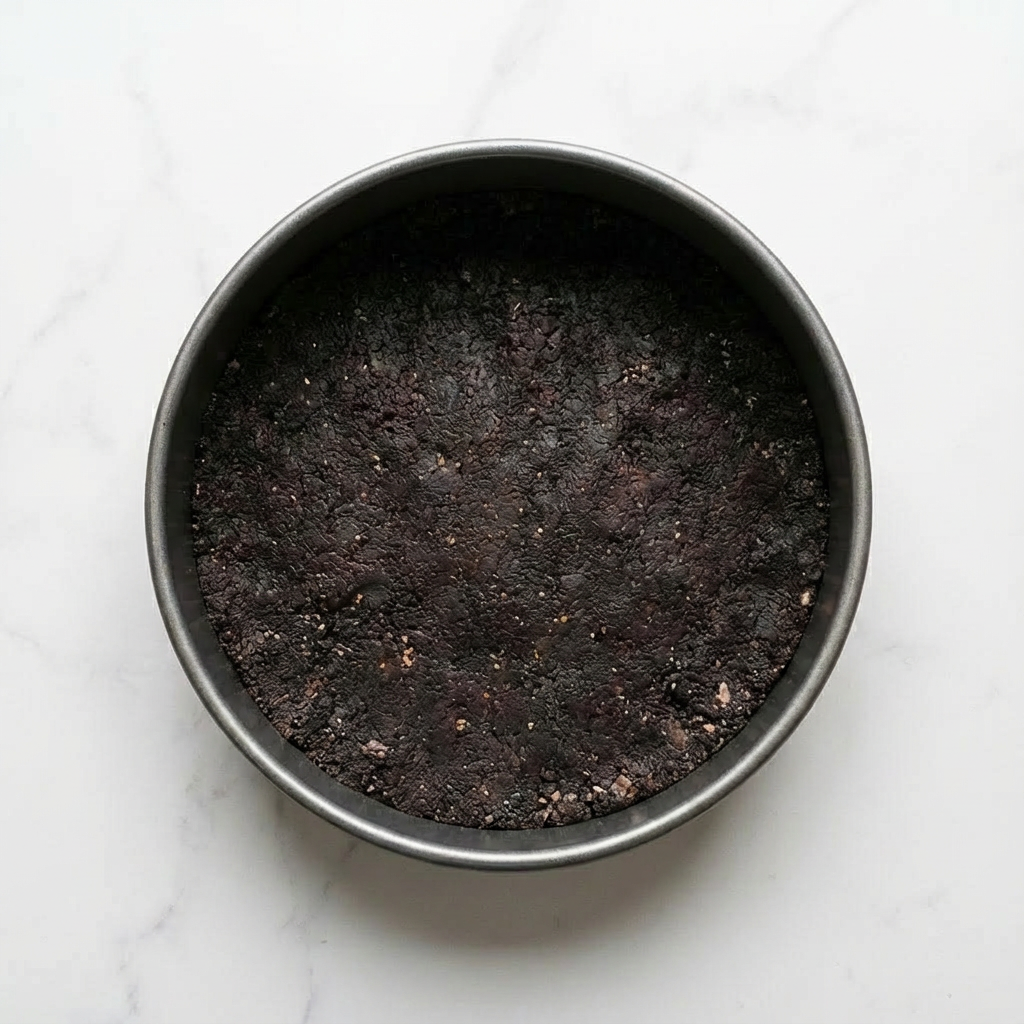
The First Layered Pan
Spread a thin, even layer of the whipped filling on the bottom of the prepared pan. Sprinkle a generous layer of the coarsely crushed Oreos evenly over the filling, pressing down lightly.
The Fully Layered & Topped Cake
Repeat the process, adding layers of filling and crushed cookies, ending with a thick final layer of the whipped filling on top. Smooth the top. Cover the pan tightly with plastic wrap.
The Chilled & Set Cake
Refrigerate the cake for at least 8 hours, or preferably overnight. This is essential for the cookies to soften and the filling to set firmly.
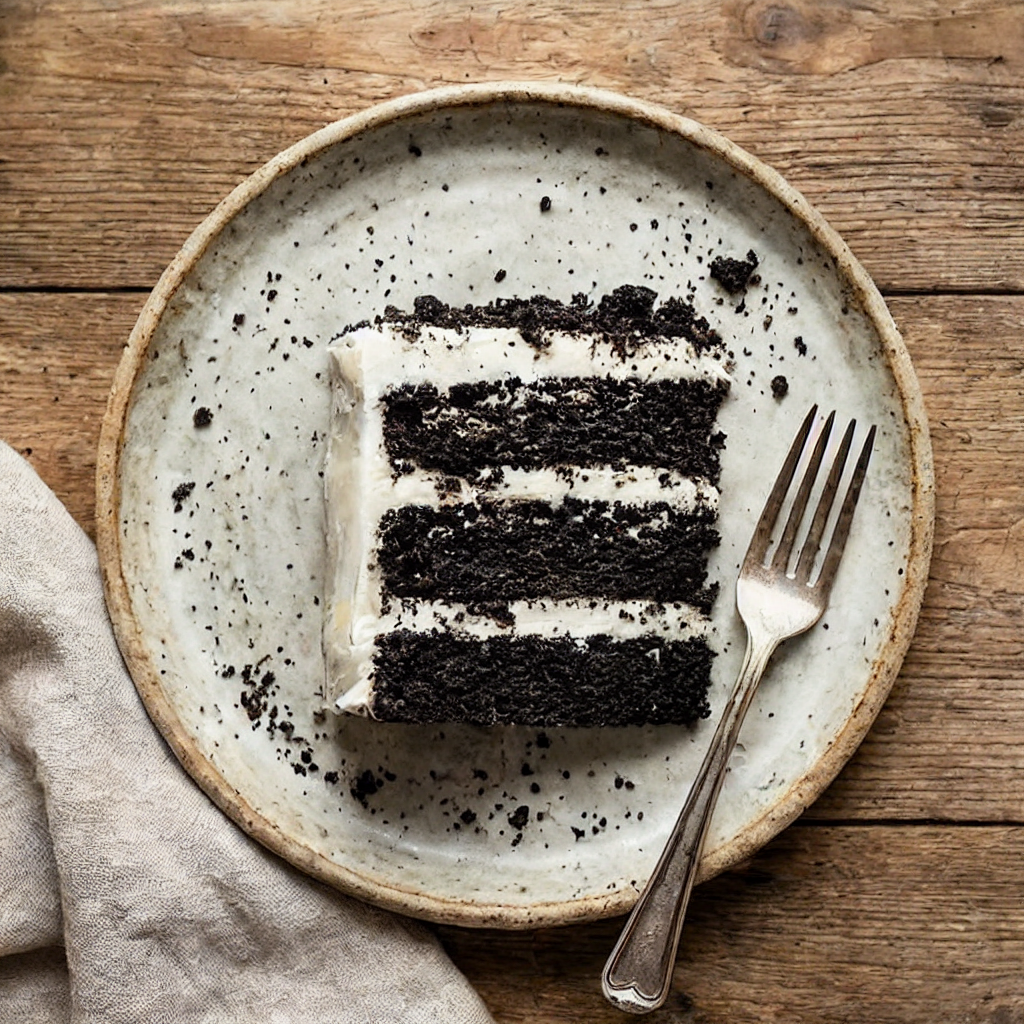
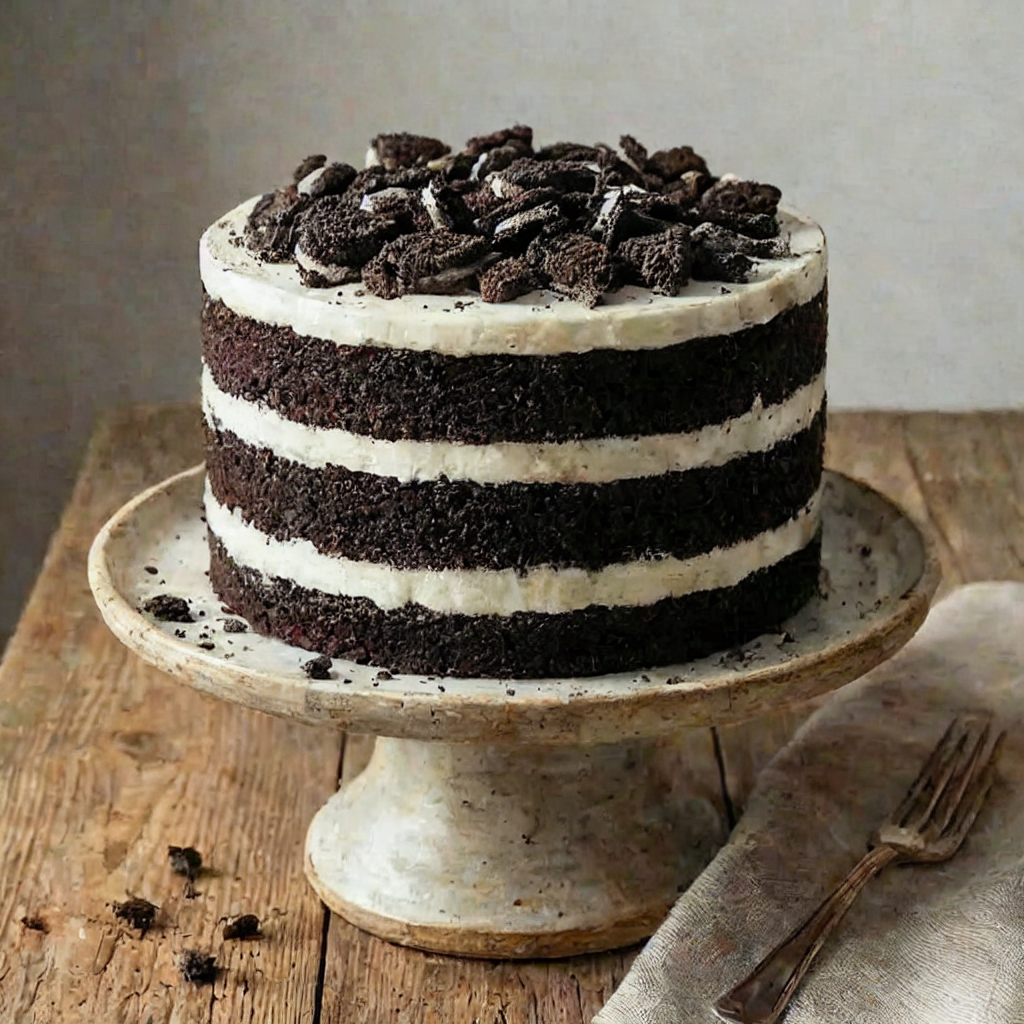
The Unmolded & Finished Cake
Run a thin knife around the edge of the pan, then release the springform ring. Garnish the top with the reserved fine Oreo crumbs, additional whipped cream, and whole or halved Oreo cookies.
Pro-Tips for a Perfect No-Bake Cake
- Soften Cream Cheese Fully: This is crucial for a smooth filling without lumps. Take it out of the fridge 1-2 hours ahead.
- Chill Your Bowl & Beaters: For the best whip on your heavy cream, chill the bowl and whisk/beaters in the freezer for 15 minutes before starting.
- Don’t Over-Whip the Cream: Whip to stiff peaks, but stop before it becomes grainy or starts to turn to butter.
- Fold Gently: When combining the whipped cream and cream cheese, use a spatula and fold gently to maintain the airy volume.
- Texture Variety in Crush: Having some small cookie chunks in the layers provides delightful texture and visual appeal.
- Press Layers Lightly: Gently press each cookie layer into the cream to ensure good contact and even softening.
- Patience is Key: Do not shortcut the chilling time. The full 8+ hours allows the cake to set completely and the cookies to achieve the perfect soft-yet-defined texture.
- Use a Springform Pan: This is the easiest way to achieve clean sides when unmolding. A deep dish pie plate can work in a pinch.
- Make Ahead: This cake can be made 2 days in advance. Add fresh garnishes just before serving.
- Slicing: Use a sharp knife, wiping it clean between slices for neat layers.
This Oreo Cake is a guaranteed crowd-pleaser that proves the best desserts can be the simplest to make.