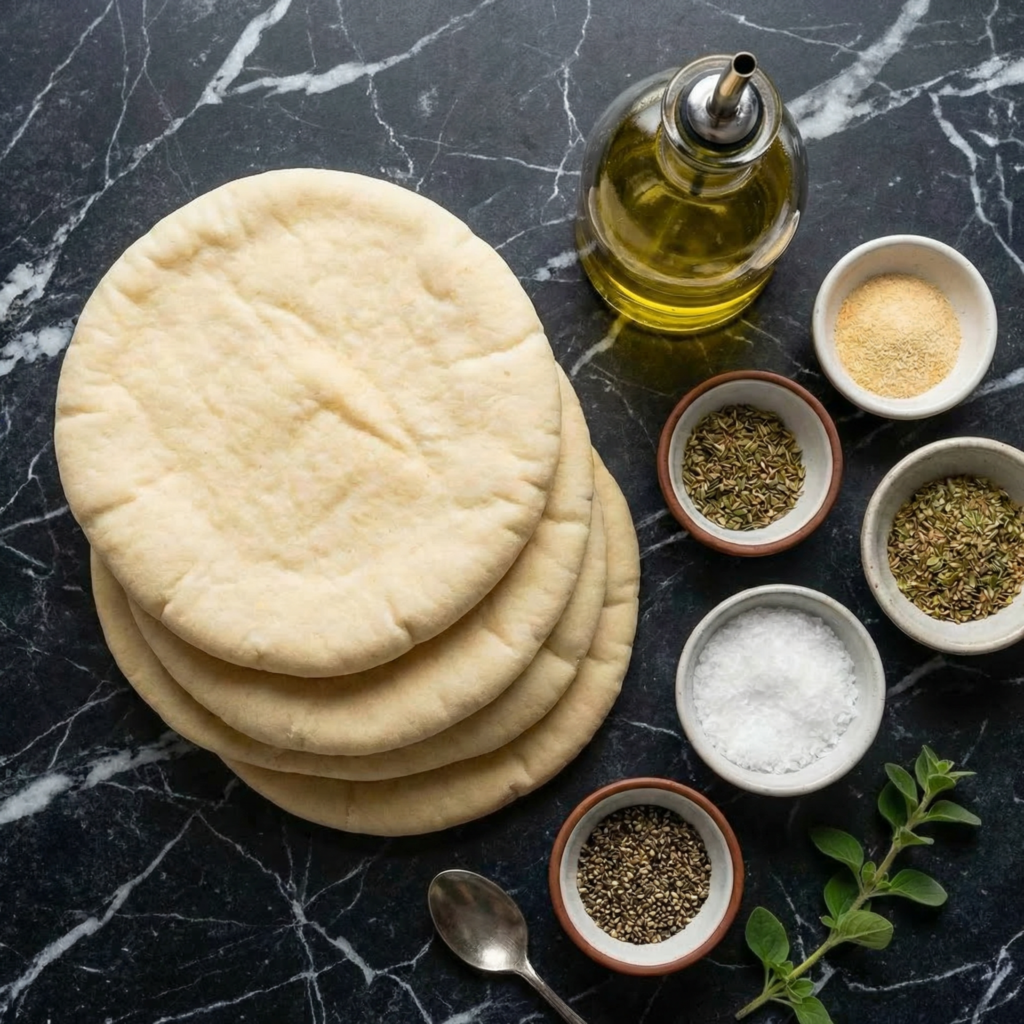
Transform simple pita bread and pantry staples into the ultimate snack duo. This recipe guides you through baking pita chips that are far superior to any bagged version—crispy, lightly salty, and infused with olive oil and your choice of seasonings.
Pair them with a batch of luxuriously smooth, creamy hummus made from scratch. Controlling the ingredients means you can achieve the perfect texture and flavor balance, making this a healthier, more delicious, and deeply satisfying alternative to processed snacks.
The Science of Crispy Chips & Silky Hummus
The magic of perfect pita chips lies in thorough coating and even baking. Brushing or tossing the pita wedges with olive oil ensures every surface is lightly coated, which promotes even browning and crispiness.
Baking at a moderate temperature allows the chips to dry out and become crisp all the way through without burning. For the hummus, the secret to a supremely smooth, non-grainy texture is two-fold: using well-cooked or canned chickpeas, and processing the tahini and lemon juice first.
This initial emulsion creates a stable, creamy base. Adding ice water while blending is the pro technique; the cold water helps break down the chickpeas further and lightens the mixture, creating an airy, fluffy hummus that holds its shape.
Instructions
The Seasoned, Oil-Coated Pita Wedges
Preheat oven to 375°F (190°C). Using a sharp knife or kitchen shears, cut each pita round into 8 even wedges. In a large bowl, whisk together the olive oil, garlic powder, oregano, salt, and pepper. Add the pita wedges and toss thoroughly until every piece is evenly coated with the seasoned oil.
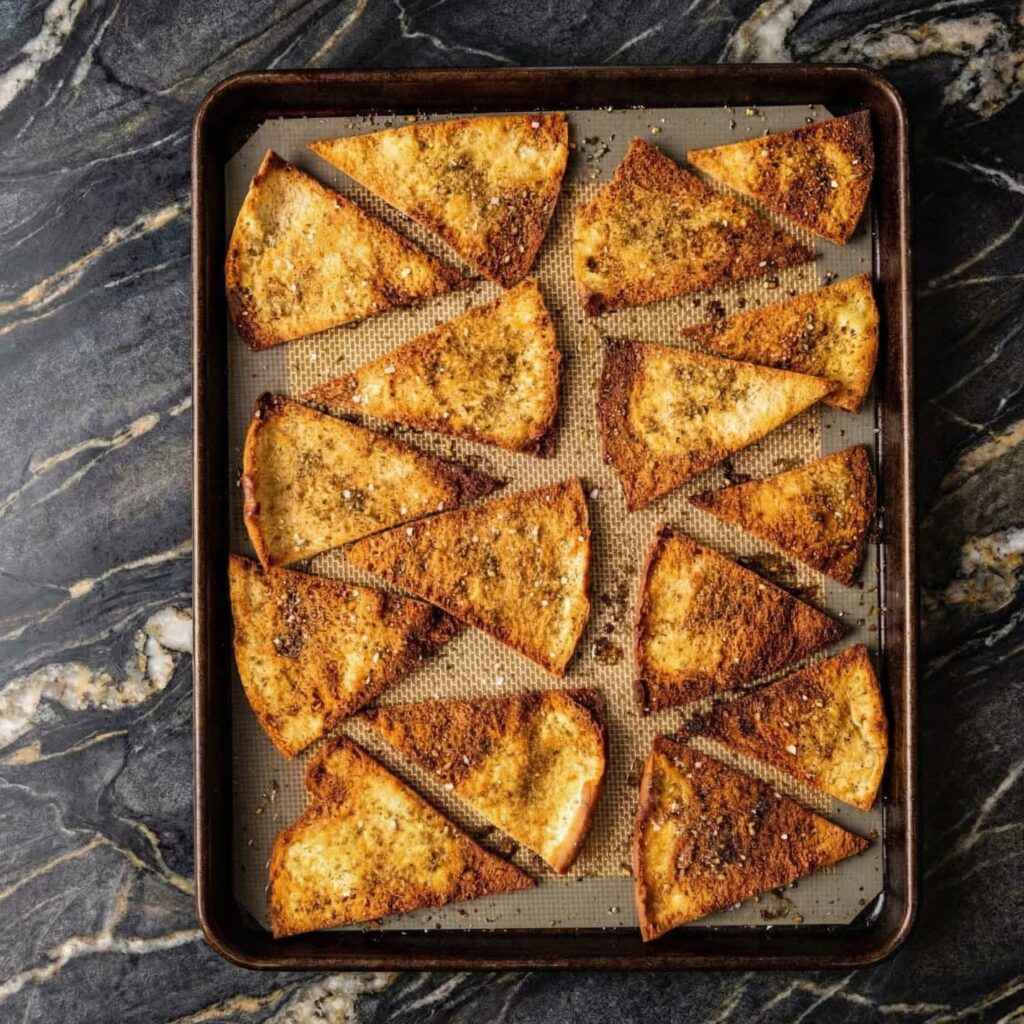
The Baked, Golden Pita Chips
Arrange the coated pita wedges in a single layer on two large, rimmed baking sheets. Bake for 12-16 minutes, flipping halfway through, until the chips are crisp and golden brown. Watch closely towards the end to prevent burning. Let cool completely on the baking sheets; they will crisp up further as they cool.
The Creamy Tahini-Lemon Base
In the bowl of a food processor, combine the tahini and fresh lemon juice. Process for 1 full minute. The mixture will initially look thick and separated, then will become smooth, pale, and creamy. This emulsion is the foundation for smooth hummus.
The Smooth, Fluffy Hummus
To the food processor, add the minced garlic, cumin, and salt. Process until combined. Add the rinsed chickpeas and 2 tablespoons of olive oil. Process for 2-3 minutes, stopping to scrape down the sides, until very smooth.
With the processor running, slowly stream in the ice water, one tablespoon at a time, until the hummus is incredibly smooth, light, and holds a soft peak. Taste and adjust salt and lemon.
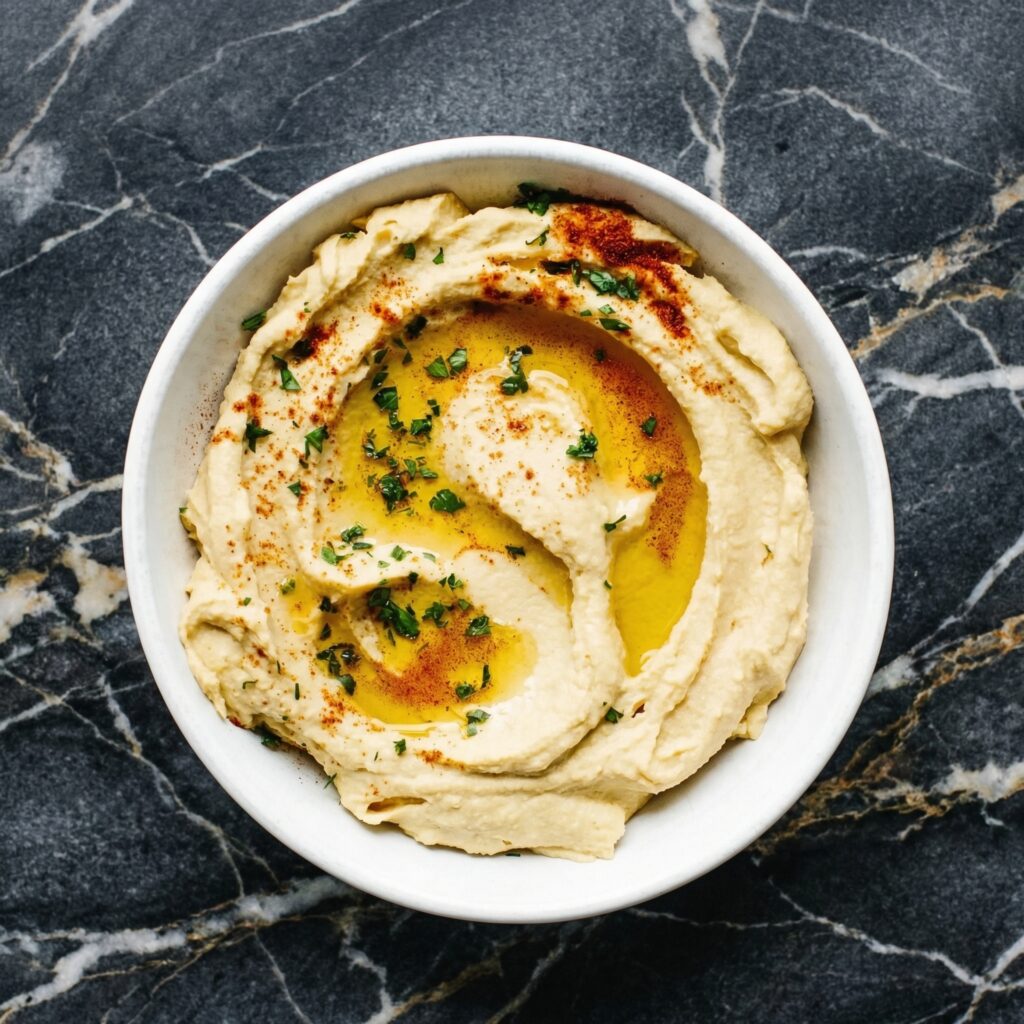
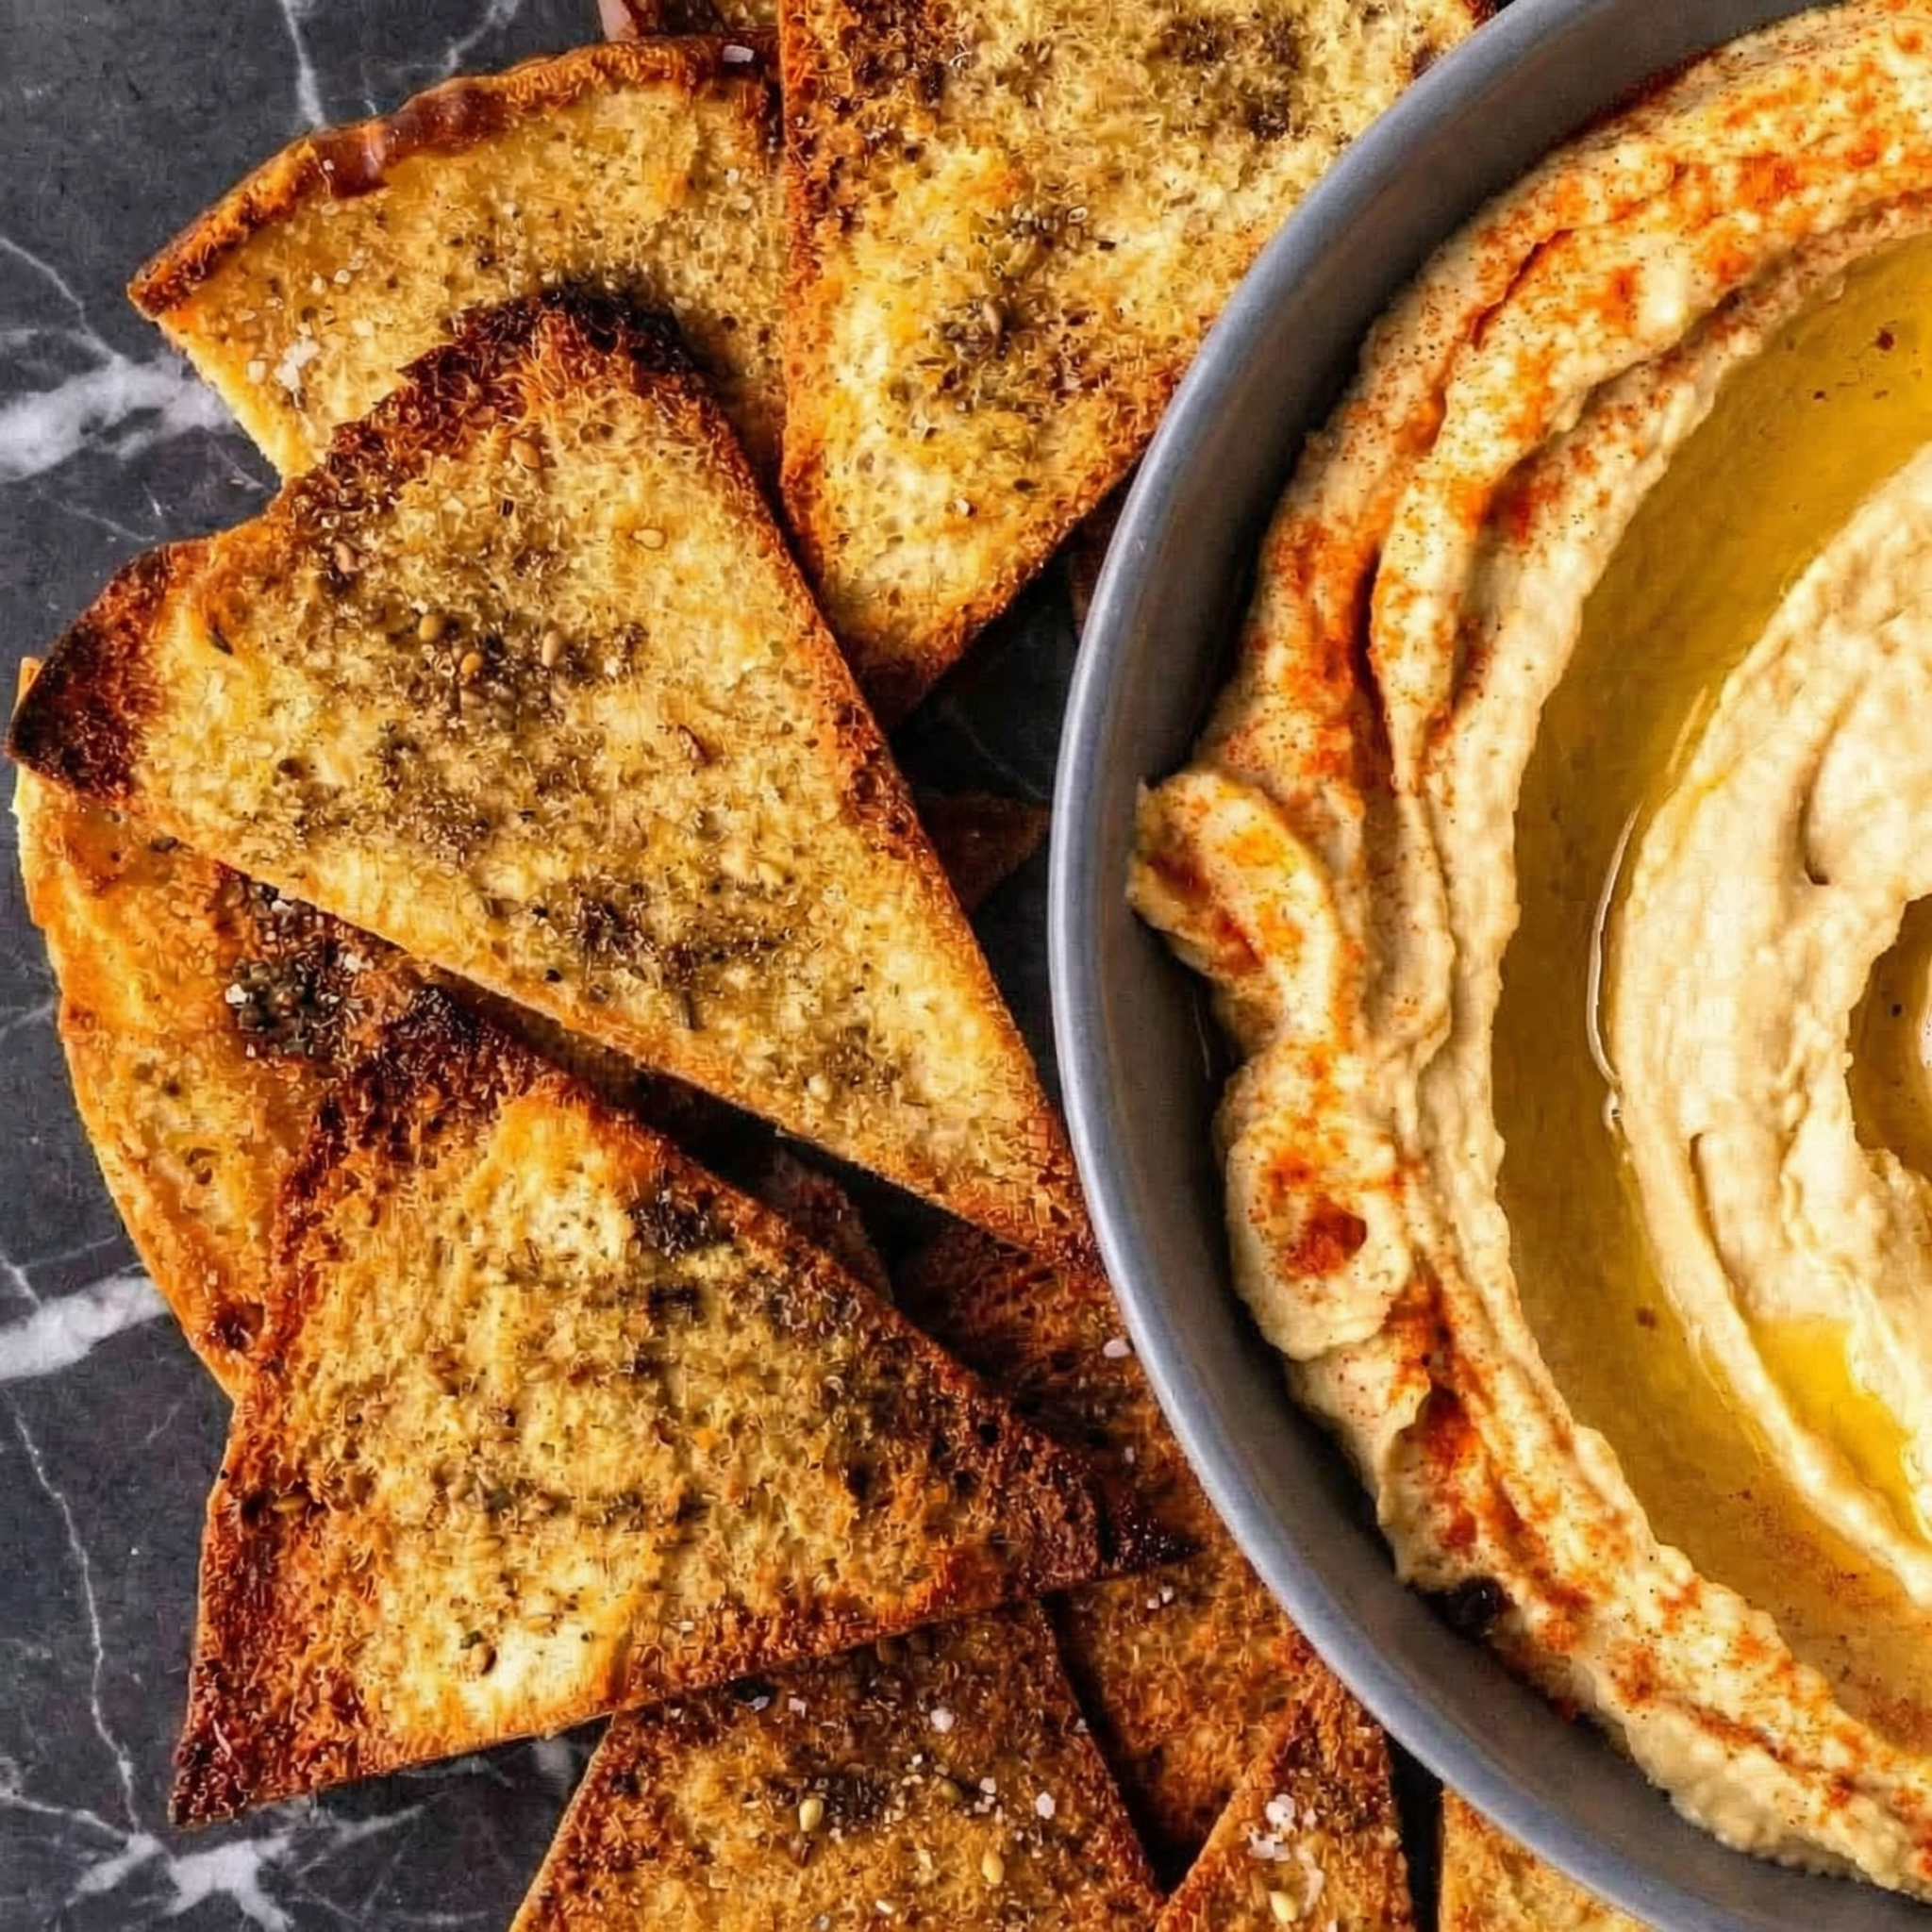
The Finished, Garnished Hummus
Transfer the hummus to a shallow serving bowl. Use the back of a spoon to create a wide, circular well in the center. Drizzle generously with olive oil. Garnish with a sprinkle of paprika, chopped parsley, and a few whole chickpeas.
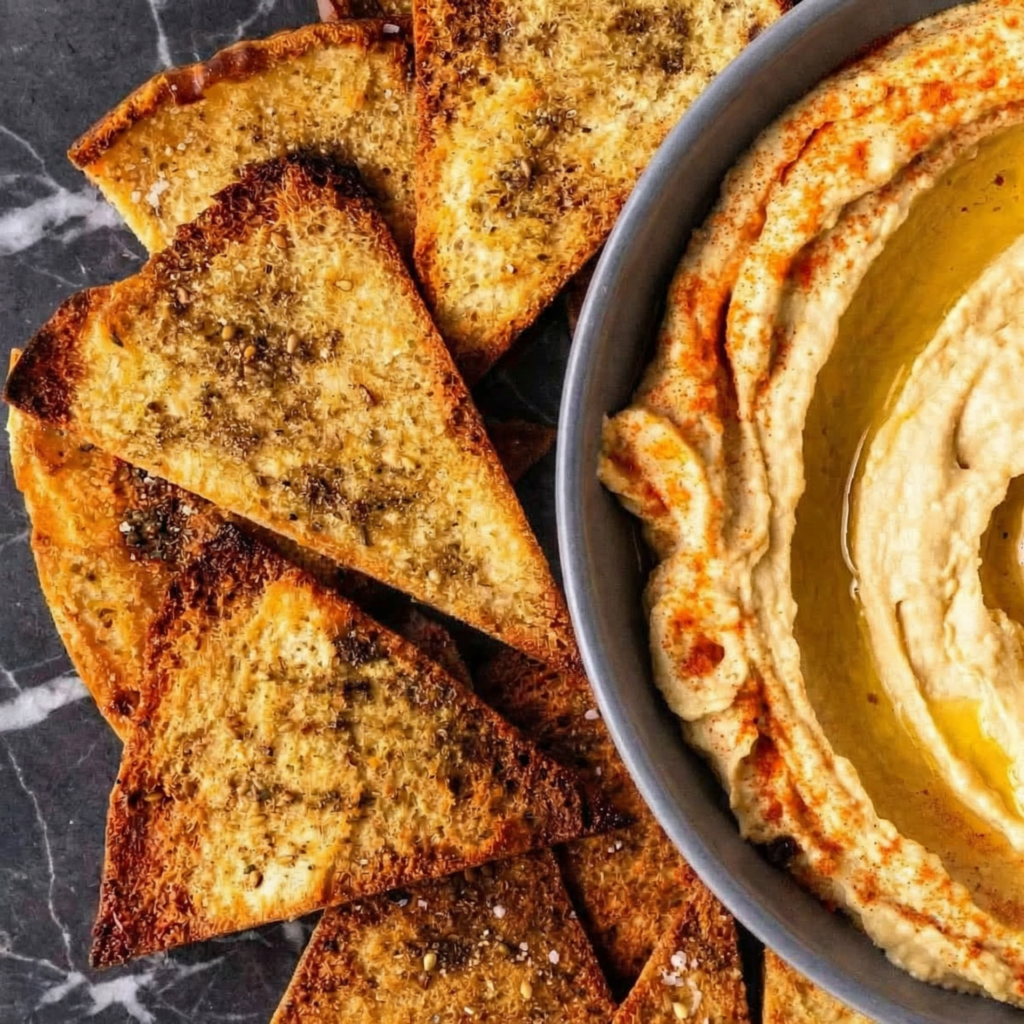
The Served Platter
Pile the completely cooled pita chips on a board or in a basket alongside the bowl of hummus. Serve immediately. The chips will stay crisp for several days stored in an airtight container, and the hummus flavor deepens after a few hours in the fridge.
Pro-Tips for Snack Perfection
- Use Pocketless Pita: It’s sturdier and creates a more uniform chip. If using regular pita, carefully split the pockets to make single-layer pieces.
- Don’t Overcrowd the Pan: A single layer is crucial for even crisping. Bake in batches if necessary.
- Cool Completely: The chips finish crisping as they cool on the hot baking sheet.
- Quality Tahini Matters: Use a well-stirred, runny tahini from a reputable Middle Eastern brand for the best flavor and texture.
- Peel Your Chickpeas (Optional): For the absolute smoothest hummus, pop each chickpea out of its skin by pinching it. It’s tedious but transformative.
- The Ice Water Trick: This is the secret to light, airy hummus. Add it slowly until you achieve your desired consistency.
- Season Generously: Hummus needs salt and acid. Don’t be afraid to add more lemon or salt to taste.
- Make Ahead: Both components can be made 2-3 days in advance. Store chips at room temperature and hummus in the fridge. Bring hummus to room temperature and give it a stir before serving.