There are few kitchen miracles more satisfying than watching a flat disk of dough transform into a ballooned, puffed-up pita bread right before your eyes. That magical “puff” creates the perfect pocket just waiting to be stuffed with falafel, shawarma, or your favorite fillings. While it might seem like a specialty best left to bakeries, making authentic, soft, and chewy pita bread at home is surprisingly straightforward.
This recipe requires just a handful of pantry staples, one bowl, and a little patience for the dough to rise. The result is a world apart from the dry, pre-packaged versions—these are warm, slightly yeasty, and wonderfully pliable.
Whether you’re planning a Mediterranean feast, need a vehicle for your best dips, or simply want to experience the joy of baking a living bread, this pita recipe is your ticket. Let’s get baking.
The Science Behind the Perfect Pita “Puff”
The signature pocket of a pita is not created by cutting, but by a brilliant burst of steam during baking. Understanding this process is the key to success. As the shaped dough hits the intense heat of a preheated baking surface (like a baking steel or inverted baking sheet), the water in the dough instantly turns to steam. The outside of the pita sets quickly, forming a crust, while the rapidly expanding steam from within pushes the softer interior layers apart, creating that coveted pocket.
Two factors are absolutely critical: oven temperature and dough hydration. The oven must be blisteringly hot (at least 475°F / 245°C) to create that instant burst of steam, and the dough must be soft and well-hydrated enough to be flexible and steamy. This recipe balances the flour and water ratios perfectly and uses a simple yeast dough that, when rolled thin and baked fast, delivers that spectacular puff every single time.
Instructions
Mix & Knead the Dough
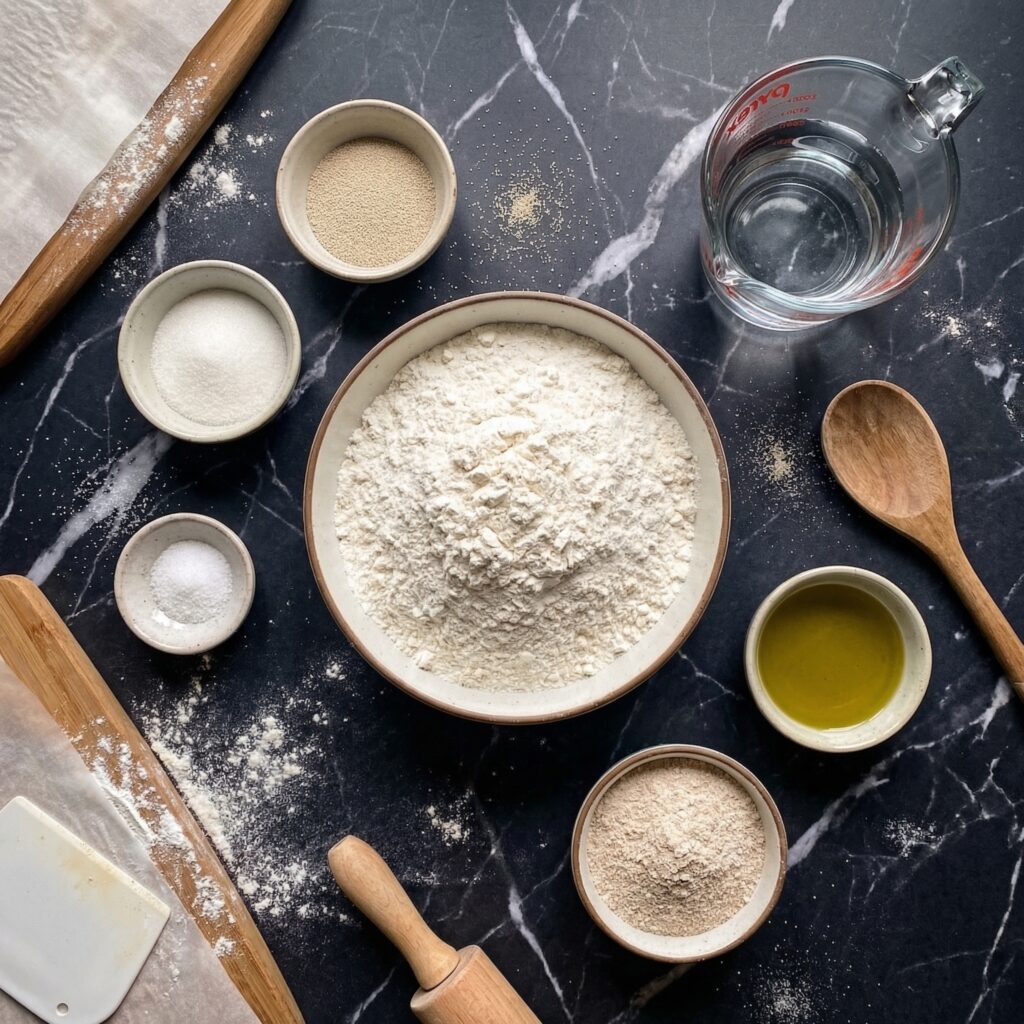
In a large bowl, whisk together the flour, instant yeast, salt, and sugar. Make a well in the center and pour in the warm water and olive oil. Mix with a wooden spoon or your hands until a shaggy dough forms. Turn it out onto a lightly floured surface and knead for 5-7 minutes, until the dough is smooth, elastic, and only slightly tacky. Alternatively, mix and knead in a stand mixer with a dough hook for 4-5 minutes.
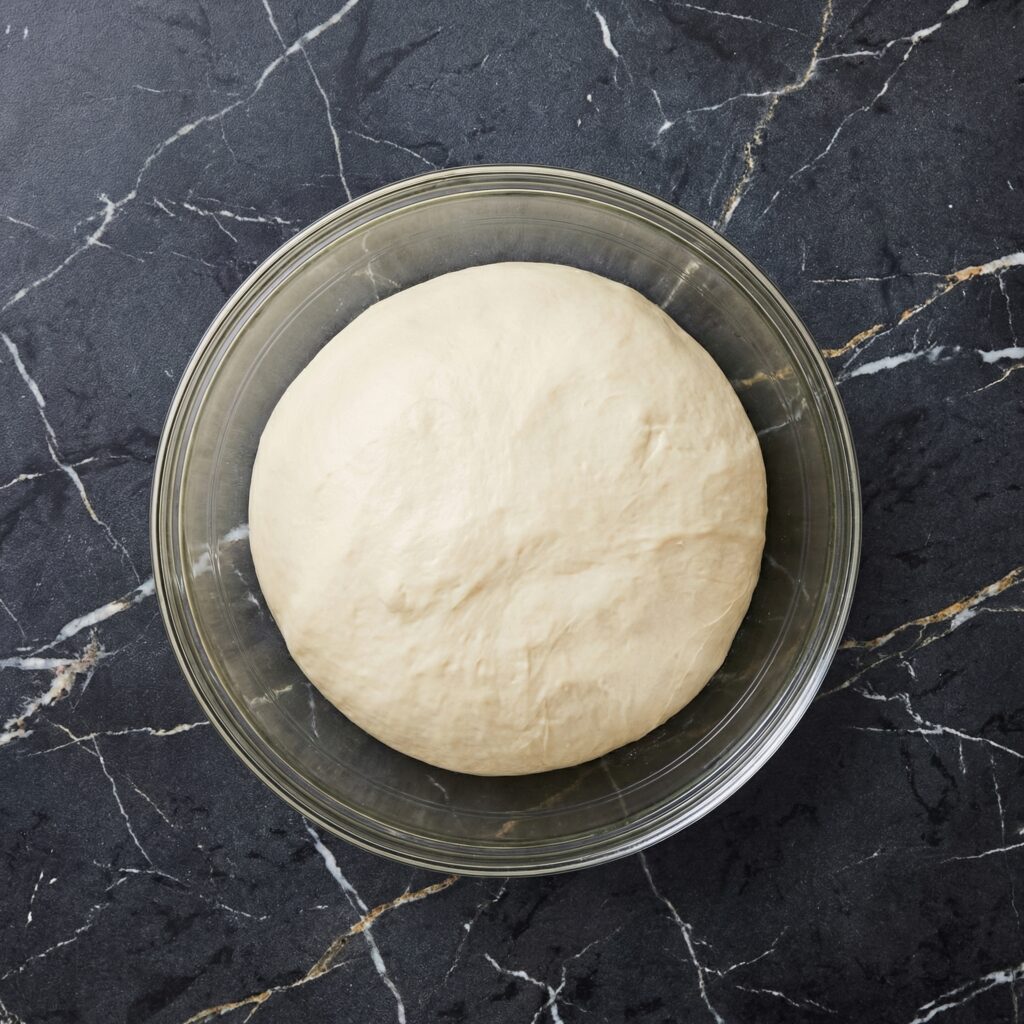
First Rise (Bulk Fermentation)
Place the kneaded dough in a lightly oiled bowl, turning it once to coat. Cover the bowl with a damp kitchen towel or plastic wrap. Let it rise in a warm, draft-free spot for 1 to 1.5 hours, or until doubled in size.
Preheat Oven & Surface
At least 45 minutes before baking, place a baking steel, pizza stone, or an inverted heavy-duty baking sheet on a middle oven rack. Preheat your oven to its highest setting, ideally 475-500°F (245-260°C). The baking surface must be screaming hot.
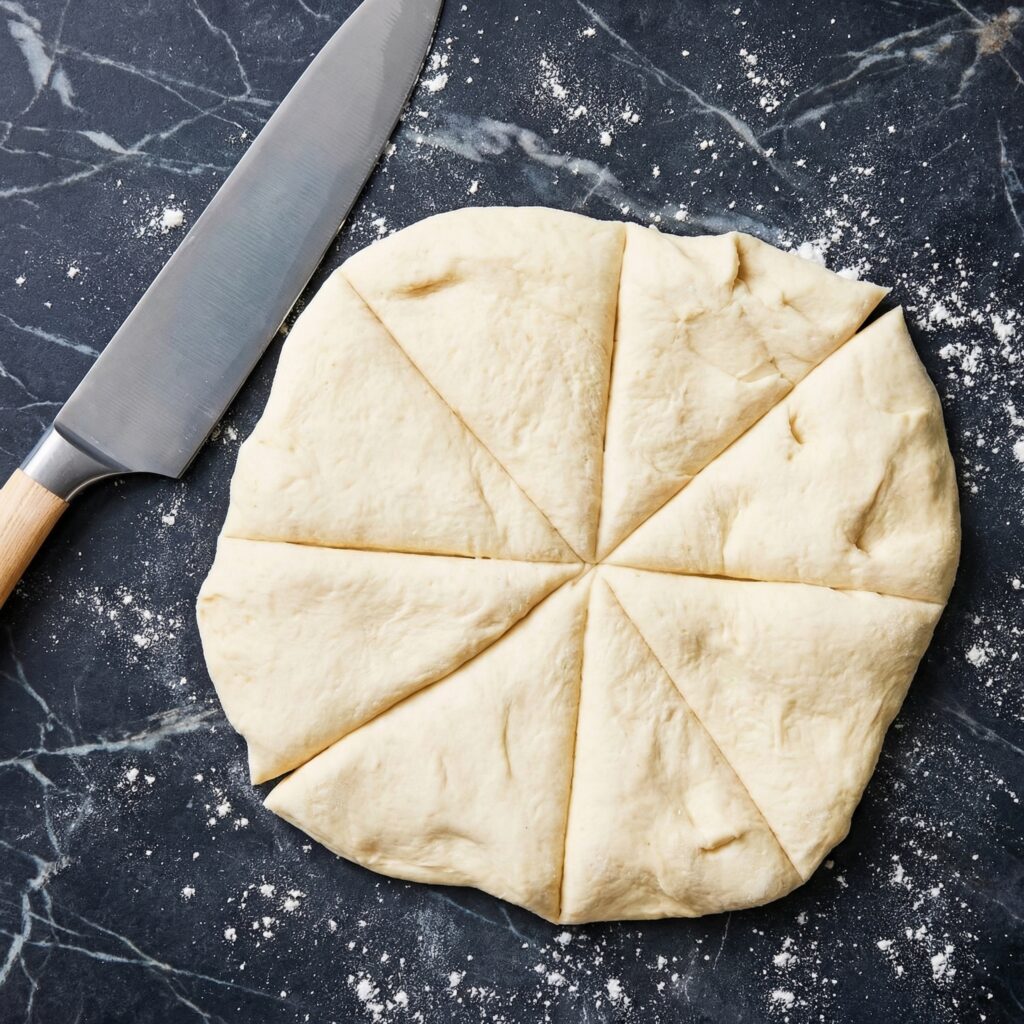
Shape the Pitas
Gently deflate the risen dough and turn it out onto a lightly floured surface. Divide it into 8 equal pieces (about 85g each). Roll each piece into a smooth ball. Cover the balls with a damp towel and let them rest for 10 minutes. This relaxes the gluten for easy rolling.
Roll Out the Dough
Using a rolling pin, roll each ball into a circle about ⅛-inch (3mm) thick and 6-7 inches in diameter. Try to keep them evenly thick for consistent baking. Stack the rolled disks with a small piece of parchment paper between each to prevent sticking.
Bake & Watch Them Puff
Working with 1-2 pitas at a time (depending on your baking surface size), carefully place a rolled dough disk directly onto the preheated surface. Bake for 3-5 minutes. You will see the pita dramatically inflate like a balloon! It’s done when it’s puffed up and has light golden spots. Do not open the oven door early.
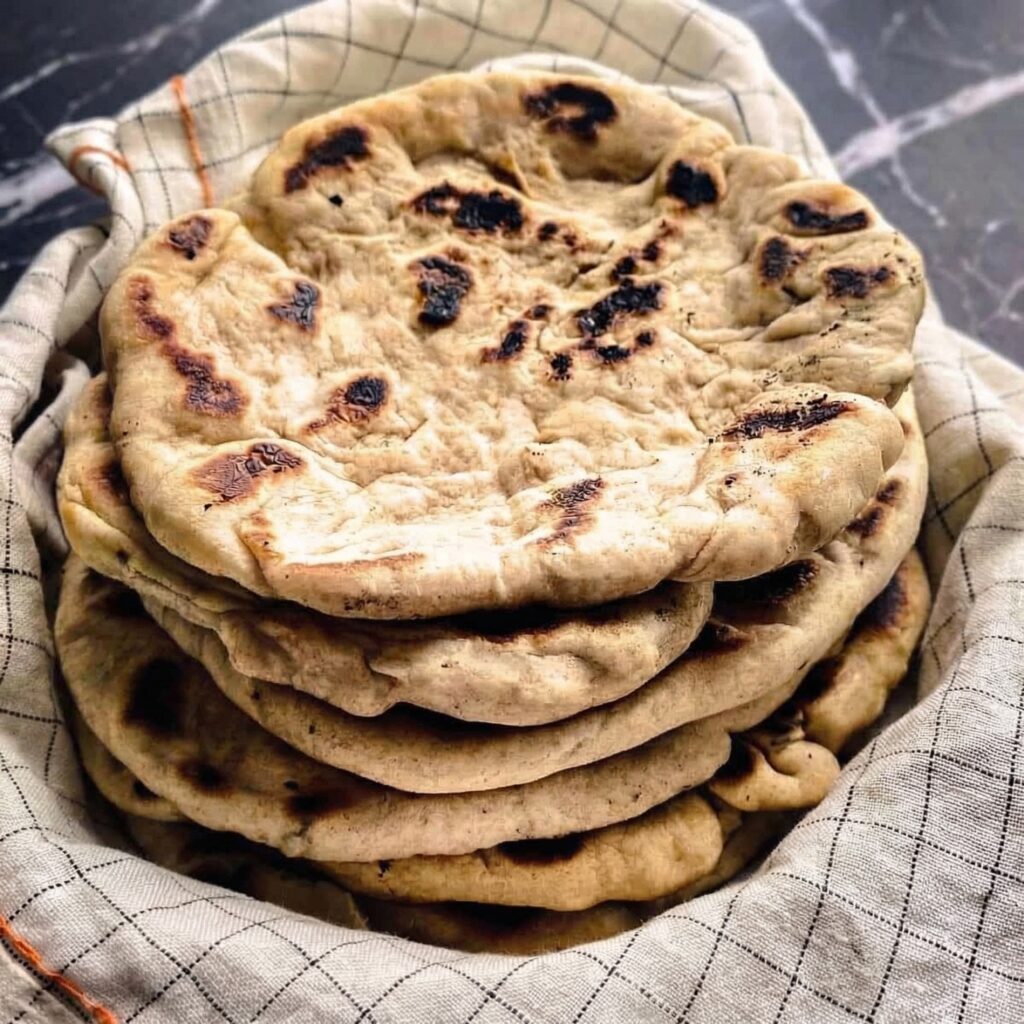
Cool & Store
Remove the puffed pita from the oven and immediately place it in a clean kitchen towel, folding the towel over to keep it soft as it cools (this steams the exterior slightly, ensuring a pliable bread). Repeat with remaining dough. Enjoy warm, or store completely cooled pitas in a zip-top bag at room temperature for 2 days or freeze for up to 3 months. Reheat in a toaster or dry skillet.
Pro-Tips for Pita Perfection
- The Hot Surface is Non-Negotiable: A preheated baking steel or stone is ideal, as it retains intense heat. An inverted heavy baking sheet is a good alternative. A cold sheet pan will not create enough steam.
- Roll Thin and Even: Thick spots are less likely to puff fully. Aim for uniform ⅛-inch thickness.
- Handle with Care: When transferring the delicate, rolled dough to the oven, drape it over your knuckles or a rolling pin to avoid stretching it out of shape.
- Embrace Imperfection: Even if one doesn’t puff into a perfect balloon, it will still taste delicious—use it for tearing and dipping!
- Get Creative: Add 1 teaspoon of dried herbs (oregano, za’atar) to the dry ingredients for a flavor boost. Brush baked pitas with garlic butter for an irresistible side. This Homemade Pita Bread recipe is your gateway to fresher, tastier, and infinitely more satisfying meals.