There is a special kind of kitchen magic in baking pita bread. You slide simple, round discs of dough into a scorching hot oven, and within minutes, they balloon into soft, pillowy breads with a hidden pocket just waiting to be filled. This recipe demystifies the process, showing you how a wet dough and high heat create that iconic puff.
The result is a pita that’s tender, slightly chewy, and tastes wonderfully of wheat and yeast—a world apart from the dry, cardboard-like versions often found in stores. Perfect for stuffing with grilled meats and veggies, tearing for dips, or simply enjoying warm with a drizzle of olive oil.
The Science of the Pita Puff
The magical pocket in pita bread is created by steam pressure during baking. The dough is rolled quite thin and placed on an extremely hot surface (a baking steel, stone, or inverted baking sheet).
The intense heat causes the water in the dough to vaporize into steam almost instantly. This steam gets trapped between the two quickly setting layers of dough—the top and bottom crusts. As more steam is generated, the pressure builds, inflating the dough like a balloon.
The pocket is fully formed once the internal structure (the gluten network) sets from the heat, locking in the air. A softer, slightly wetter dough is key, as it produces more steam. If the oven isn’t hot enough, or the dough is too thick or dry, the steam escapes or the crusts don’t set quickly enough, resulting in flat, pita-like bread without the pocket.
Instructions
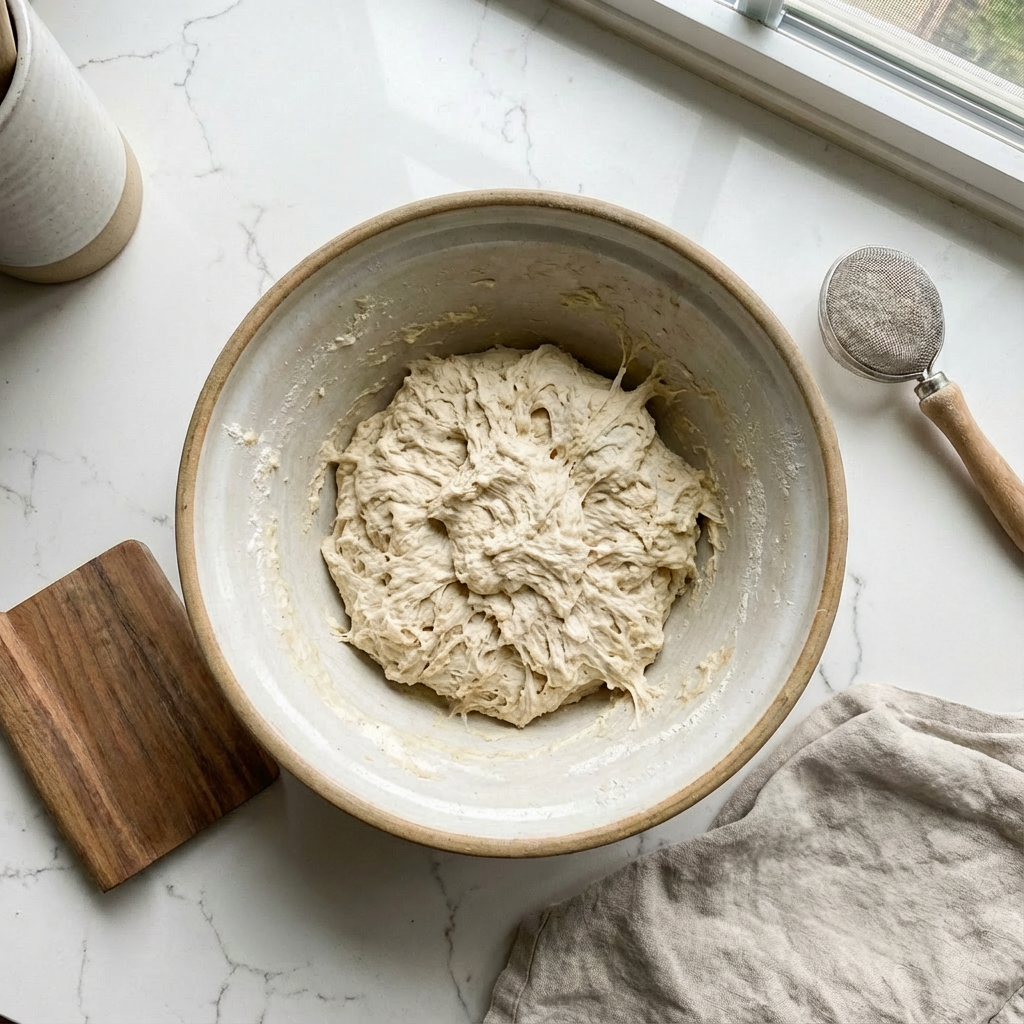
The Mixed, Shaggy Dough
In a large bowl, whisk together the flour, sugar, salt, and instant yeast. Make a well in the center and add the warm water and olive oil. Stir with a wooden spoon or your hands until a shaggy, sticky dough forms.
The Kneaded, Smooth Dough
Turn the dough out onto a lightly floured surface. Knead for 5-7 minutes, adding only as much flour as needed to prevent severe sticking, until the dough is smooth, elastic, and still slightly tacky.
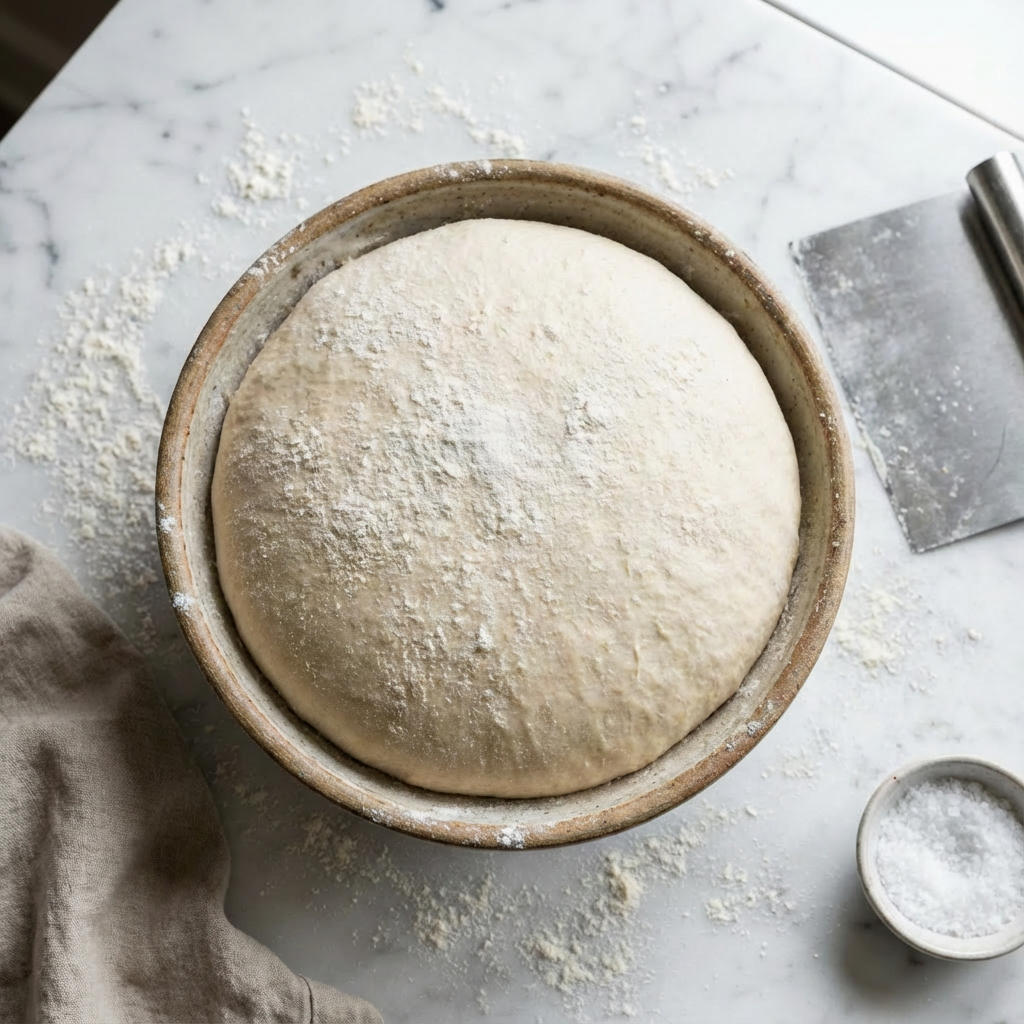
The First Risen Dough
Place the dough in a lightly oiled bowl, turning to coat. Cover with plastic wrap or a damp towel and let rise in a warm place for 1-1.5 hours, or until doubled in size.
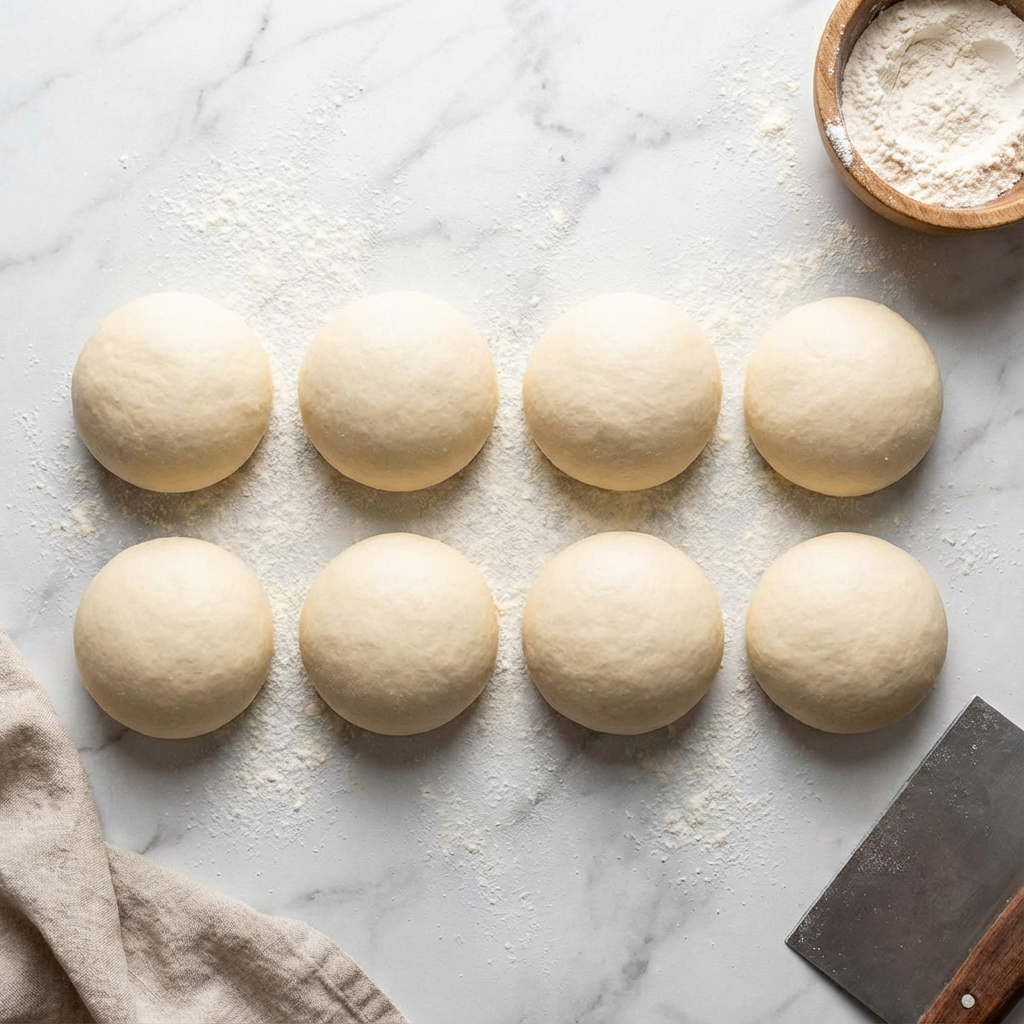
The Portioned Dough Balls
Punch down the risen dough and turn it out onto a lightly floured surface. Divide into 8 equal pieces (about 85g each). Roll each piece into a tight, smooth ball. Cover and let rest for 15 minutes. This relaxes the gluten for easier rolling.
The Rolled-Out Pita Rounds
Using a rolling pin on a lightly floured surface, roll each ball into a circle about ¼-inch thick and 6-7 inches in diameter. Try to keep them even in thickness for consistent puffing.
The Preheated Baking Surface
While the dough rests, place a baking steel, pizza stone, or an inverted heavy baking sheet on the middle rack of your oven. Preheat the oven to its highest temperature (500°F / 260°C) for at least 45 minutes.
The Baking Pitas (Mid-Puff)
Working with 1-2 pitas at a time, carefully transfer a rolled round onto the preheated baking surface. Bake for 2-3 minutes. You will see them dramatically puff up into a round ball.
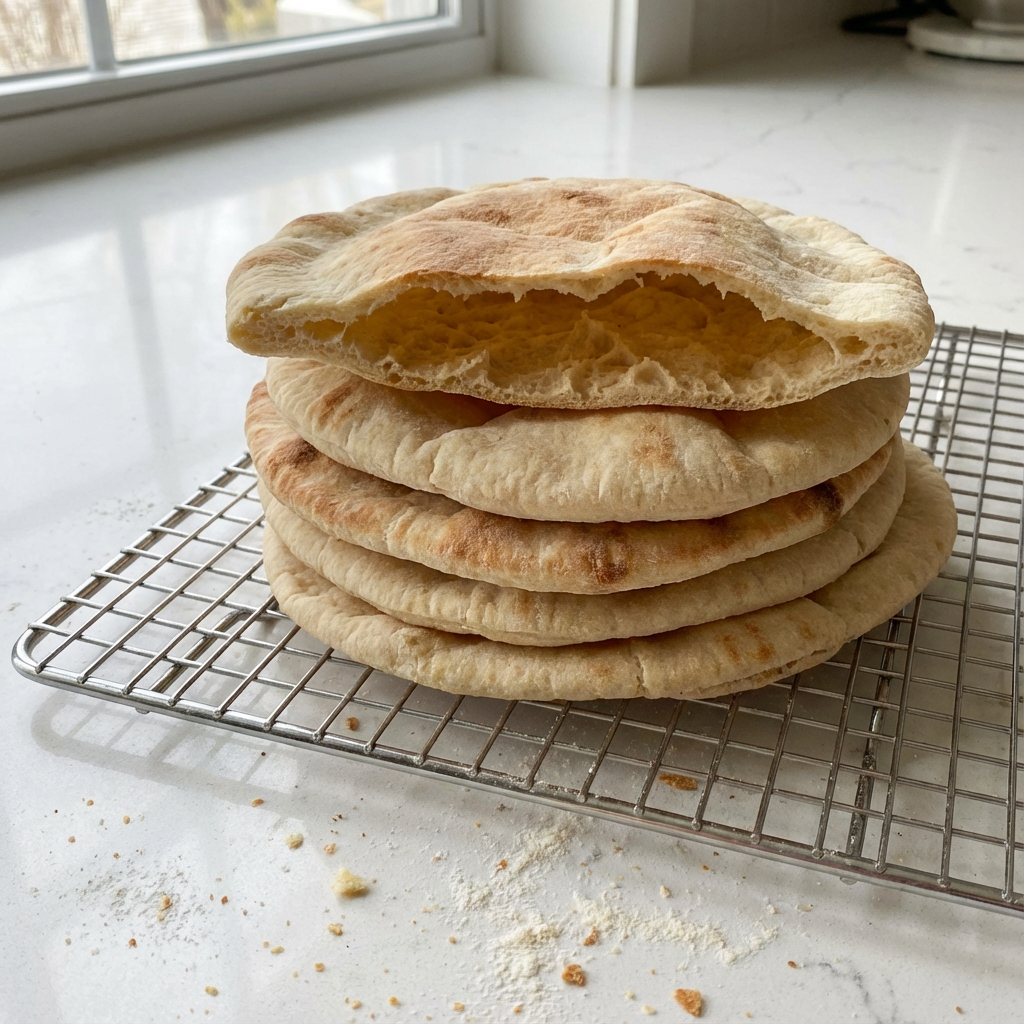
The Baked, Deflated Pitas
The pitas are done when they are puffed and have light brown spots. Remove them from the oven with tongs. They will deflate slightly as they cool, but the pocket will remain.
The Steamed & Wrapped Pitas
As soon as the pitas come out of the oven, place them in a clean kitchen towel and fold the towel over them to trap the steam. This keeps them soft and pliable as they cool.
Pro-Tips for Perfect Pita Pockets
- High Heat is Non-Negotiable: Your oven must be as hot as possible to generate the instant steam needed for the puff.
- Use a Preheated Surface: A baking steel or stone is ideal, but a heavy, inverted baking sheet works well too. It provides the thermal mass needed for an instant sear.
- Dough Hydration: The dough should be tacky, not dry. A wetter dough creates more steam. Resist the urge to add too much flour while kneading.
- Roll Evenly: Uneven thickness can cause partial puffing or tearing.
- Work Quickly: Have your rolled pitas ready on a lightly floured peel or the back of a baking sheet to slide them onto the hot surface without losing heat.
- Don’t Overbake: They bake fast! Once puffed and with a few light brown spots, they’re done. Overbaking makes them crisp and less pliable.
- The Towel Trick: Wrapping them immediately in a towel is crucial for a soft, supple texture.
- No Puff? If a pita doesn’t puff, it’s likely due to the oven not being hot enough, the dough being rolled too thick, or a leak/tear in the dough. It will still taste delicious.
- Storage: Best eaten the day they’re made. Store leftovers in a plastic bag at room temp. Reheat in a toaster or dry skillet to refresh.
- Make Ahead: The dough can be made and refrigerated after the first rise for up to 24 hours. Let it come to room temp before portioning and rolling.
This Homemade Pita Bread recipe unlocks a simple, rewarding baking skill with delicious, versatile results.