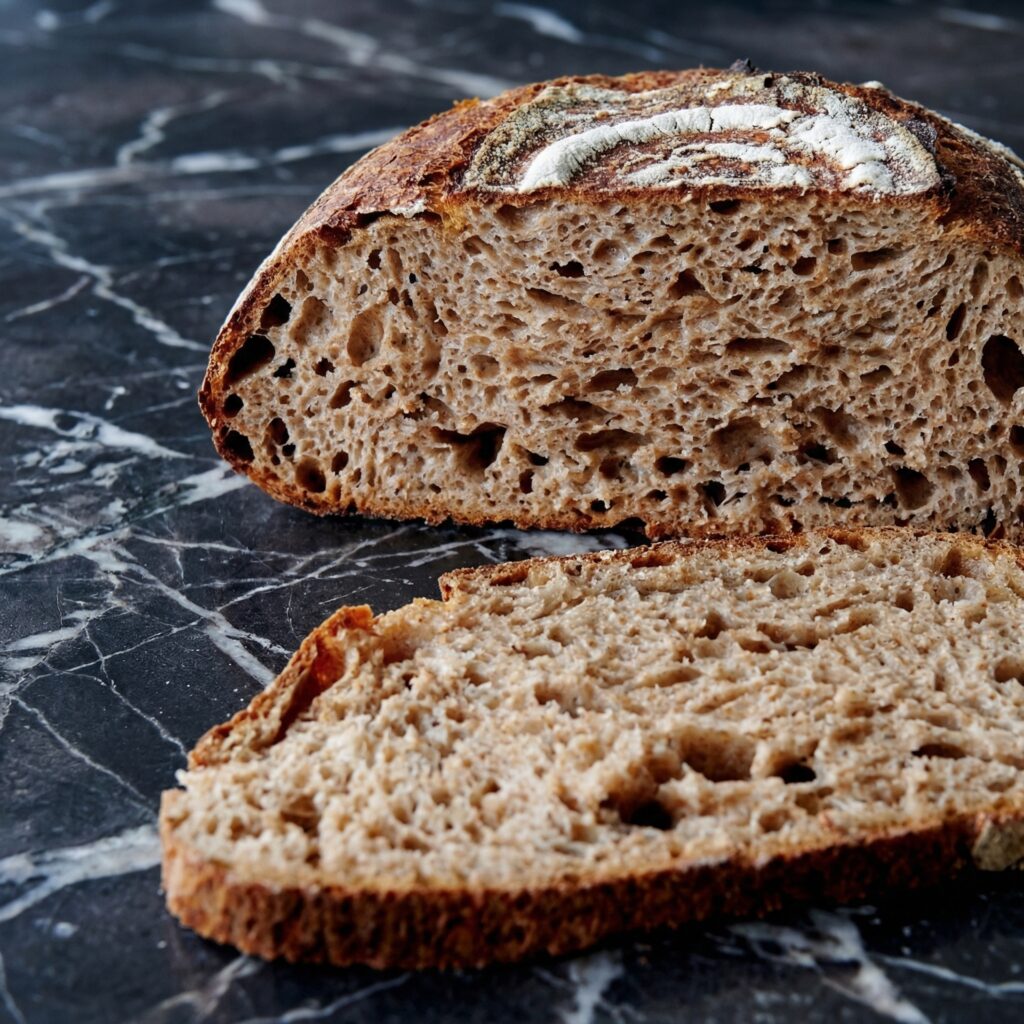
There’s whole wheat bread, and then there’s THIS. A loaf that’s genuinely wholesome without being dense or dry. Deeply nutty, beautifully tangy, with a tender crumb that actually feels like bread—not a brick.
Made with a high percentage of whole wheat flour and your sourdough starter, this loaf delivers all the nutritional benefits of whole grains with none of the compromises. It toasts like a dream, makes sandwiches you’ll actually look forward to, and fills your kitchen with the most incredible aroma while it bakes.
Whether you’re new to whole wheat or a devoted fan, this sourdough will become your everyday loaf—the one you make week after week, the one that makes healthy eating feel like a treat.
Build the Levain (Evening Before)
The night before baking, combine the active starter, whole wheat flour, and water in a small jar or bowl. Mix well, cover loosely, and let sit at room temperature overnight (8-12 hours). It should be bubbly, active, and smell pleasantly sour in the morning.
Autolyse (Morning of Bake)
In a large bowl, combine both flours and the warm water. Mix with your hands or a spatula until no dry bits remain. Cover and let rest for 30-60 minutes. This autolyse softens the bran and starts gluten development.
Add Levain and Salt
Add the entire levain and the salt to the dough. Mix by pinching and folding until fully incorporated. The dough will be sticky and shaggy—that’s normal for whole wheat.
Bulk Fermentation (Stretch and Folds)
Cover the bowl and let the dough rest for 30 minutes. Perform your first set of stretch and folds: wet your hand, grab one side of the dough, stretch it up, and fold it over itself. Rotate the bowl and repeat 4 times. Cover and rest. Repeat this process every 30 minutes for 2-3 hours (4-6 sets total). The dough will become smoother and more elastic with each set.
Continue Bulk Fermentation
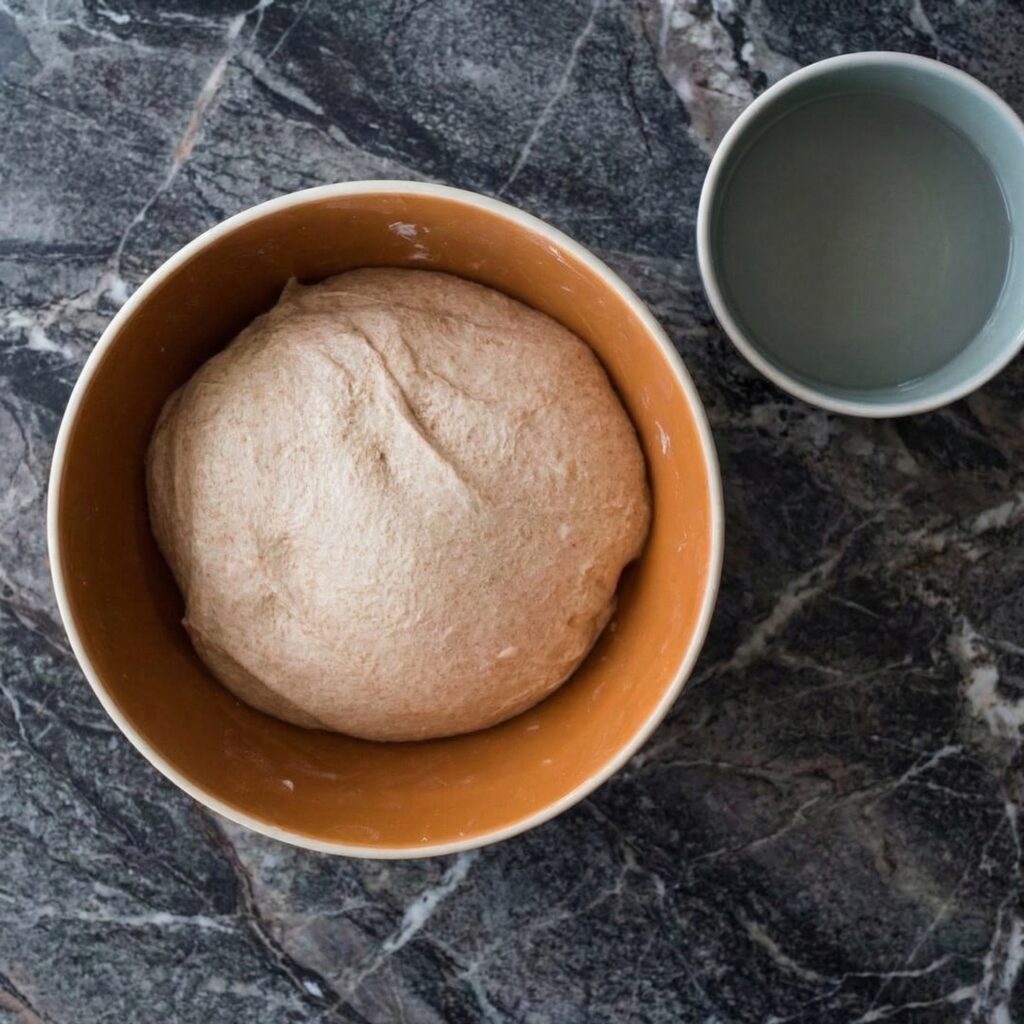
After the last set of folds, let the dough rest, covered, for another 1-2 hours. It should increase in volume by about 50%, look puffy, and have visible bubbles on the surface and sides.
Shape the Dough
Lightly flour your work surface. Gently turn the dough out. With floured hands, gently shape it into a round or oval by folding the edges into the center, then flipping it over and dragging it toward you to create surface tension.
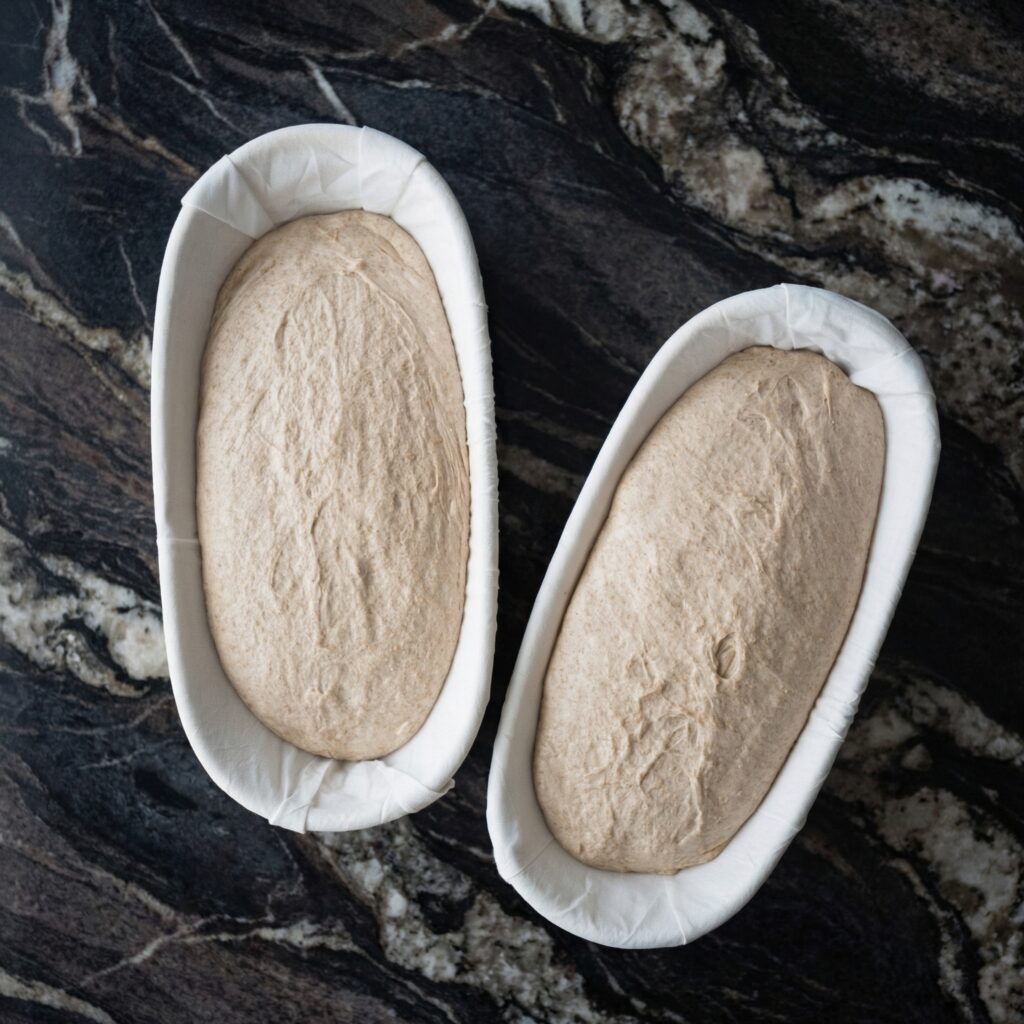
Final Proof
Place the shaped dough seam-side up in a floured proofing basket (or a bowl lined with a floured kitchen towel). Cover and refrigerate overnight (8-12 hours) for best flavor, or let proof at room temperature for 1-2 hours until puffy.
Preheat the Dutch Oven
Place a Dutch oven with its lid in your oven and preheat to 475°F (245°C) for at least 45 minutes.
Score the Dough
Carefully remove the hot Dutch oven. Place a piece of parchment paper over the dough and invert the basket to release the dough onto the parchment. Using a sharp blade or lame, score the top with a simple slash or pattern—about ¼ inch deep.
Bake Covered
Using the parchment as handles, lower the dough into the hot Dutch oven. Sprinkle with seeds or oats if desired. Put the lid on and bake for 25 minutes.
Bake Uncovered
Remove the lid and bake for another 20-25 minutes, until the crust is deep golden-brown and the internal temperature reaches 205-210°F (96-99°C).
Cool Completely
Carefully remove the loaf from the pot and transfer to a wire rack. Cool completely—at least 2 hours. This is crucial for texture.
Slice and Enjoy
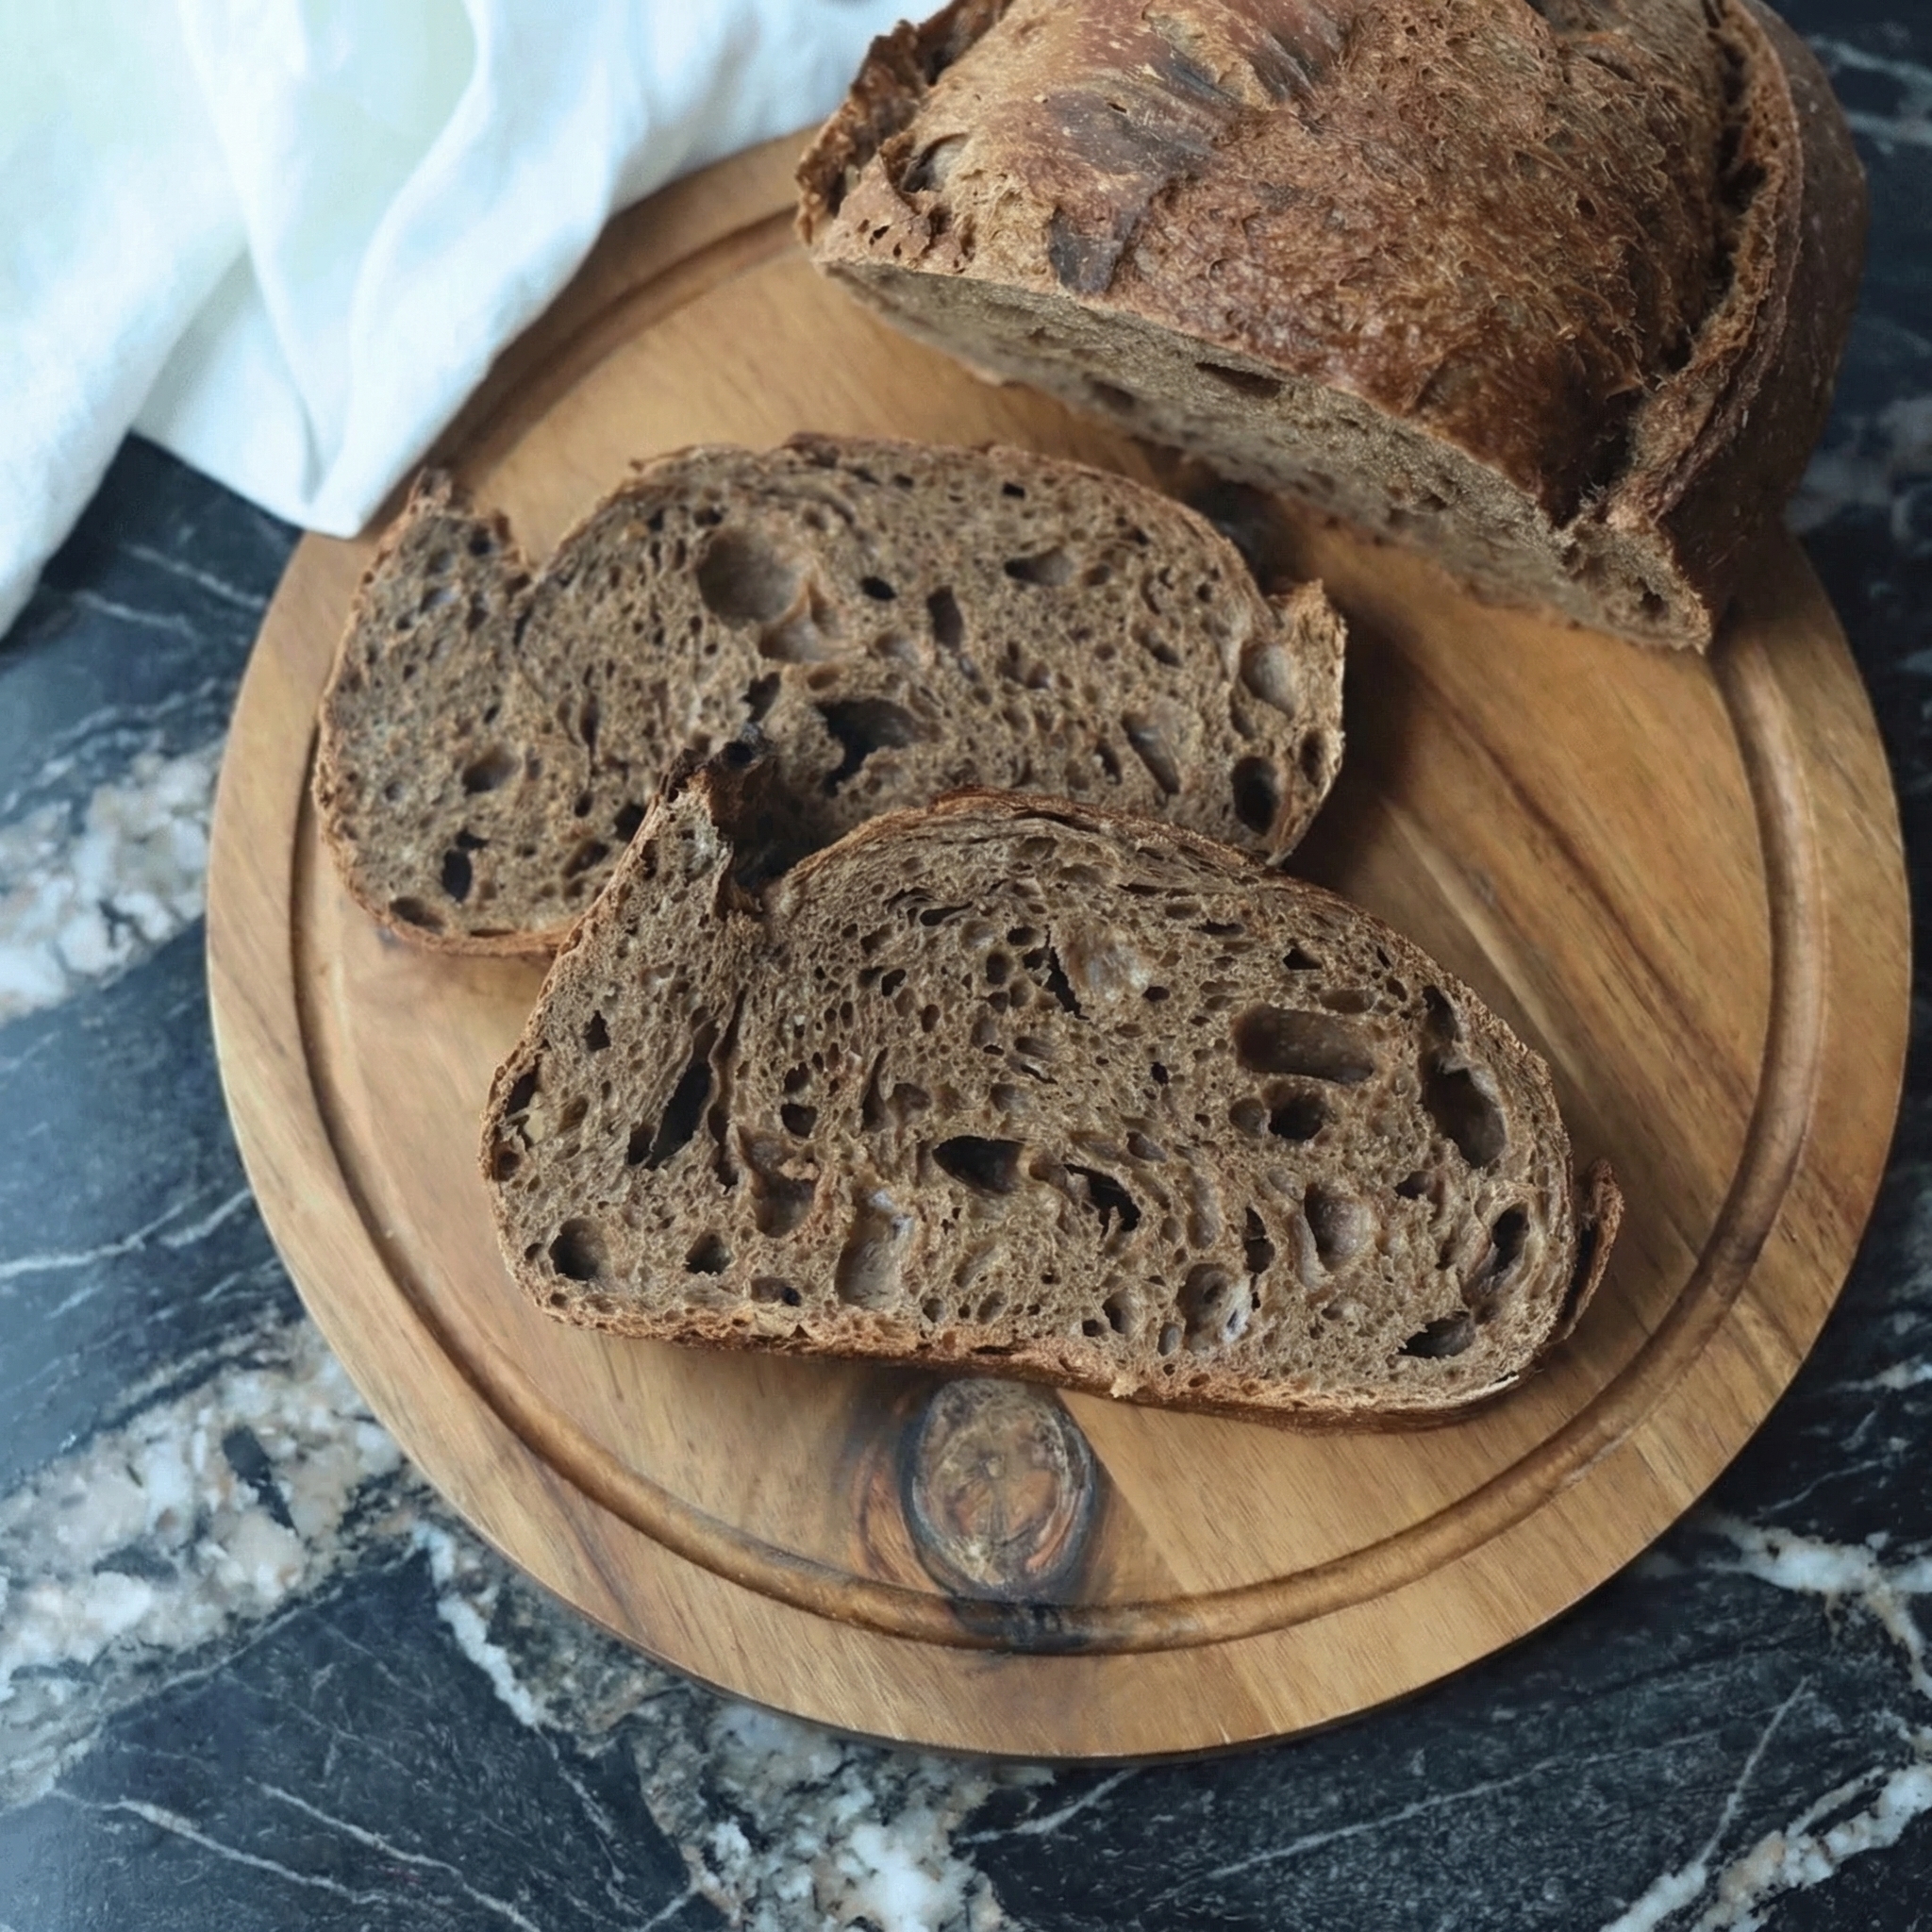
Once completely cool, slice with a serrated knife. The crumb should be tender and nutty, with a beautiful open structure. Toast, make sandwiches, or simply slather with butter.
Pro-Tips for Whole Wheat Success
- Don’t Skip the Autolyse: That 30-60 minute rest before adding the starter softens the bran and gives you a much more extensible dough. It’s non-negotiable for whole wheat.
- Higher Hydration Helps: Whole wheat flour absorbs more water than white. This recipe uses about 75% hydration—if it feels too stiff, add another tablespoon or two of water during mixing.
- Watch Fermentation Closely: Whole wheat ferments faster than white flour. Don’t rely solely on time; look for visual cues—puffiness, bubbles, a dome that springs back slowly.
- Handle Gently: Whole wheat dough is more fragile than white. Be gentle during shaping to preserve the gas you’ve worked to create.
- Expect a Different Crumb: Whole wheat sourdough won’t have the wide, open holes of a white flour loaf—the bran prevents that. But it will have a beautiful, even crumb with plenty of character.
- Toast It: Whole wheat sourdough absolutely shines when toasted. The nutty flavors deepen, the crust gets extra crispy, and butter melts into every crevice.
This Hearty Whole Wheat Sourdough is bread that nourishes body and soul—nutty, tangy, and absolutely delicious.