The search for the perfect Christmas cut-out cookie ends here. This is the quintessential recipe that balances rich, buttery flavor with a sturdy yet tender texture—a dough that rolls out smoothly, bakes without spreading, and creates a flawless canvas for your royal icing masterpieces.
Born from generations of holiday baking, these cookies are more than just a treat; they’re a tradition. The process of mixing, chilling, rolling, cutting, and decorating is a joyful ritual that brings families together.
Whether you’re a seasoned decorator aiming for piping-bag perfection or baking with little hands eager to apply mountains of sprinkles, this recipe is your reliable foundation. It yields cookies that taste as good as they look: subtly sweet, with a hint of vanilla and almond, and a melt-in-your-mouth tenderness that makes them truly irresistible.
The Science of a Perfect Roll-Out Cookie Dough
Creating cut-out cookies that maintain their sharp, clean edges is a matter of precise ingredient balance and technique. The key lies in the fat-to-flour ratio and proper chilling.
This recipe uses a higher proportion of butter to flour than a standard drop cookie, ensuring rich flavor and tenderness. However, to prevent spreading, the dough must be well-chilled before rolling and again after cutting. This solidifies the butter, so it melts more slowly in the oven, setting the cookie’s structure before the fat can cause it to slump.
Another secret is using both baking powder and a small amount of cornstarch. The baking powder gives a gentle lift for a soft bite, while the cornstarch tenderizes the crumb further, preventing toughness from overworking the flour.
The result is a dough that is cooperative, not crumbly, and bakes into cookies that are sturdy enough to handle but still delightfully soft to eat.
Ingredients
For the Cookies:
- 1 cup (226g) unsalted butter, softened to cool room temperature
- 1 cup (200g) granulated sugar
- 1 large egg, room temperature
- 1 ½ teaspoons pure vanilla extract
- ½ teaspoon pure almond extract (optional, but recommended)
- 3 cups (375g) all-purpose flour, plus more for dusting
- 1 ½ teaspoons baking powder
- 1 tablespoon cornstarch
- ½ teaspoon salt
For the Royal Icing:
- 4 cups (480g) powdered sugar, sifted
- 3 tablespoons meringue powder
- ½ teaspoon cream of tartar
- ½ cup (120ml) warm water, plus more as needed
- 1 teaspoon clear vanilla or almond extract
- Gel food coloring (optional)
Instructions
1. Make the Dough: In a large bowl, cream the softened butter and sugar until light and fluffy, about 3 minutes. Beat in the egg, vanilla, and almond extract until combined. In a separate bowl, whisk together flour, baking powder, cornstarch, and salt. Gradually add the dry ingredients to the wet, mixing on low speed until the dough just comes together and no dry streaks remain.

2. Chill the Dough: Divide the dough into two discs, wrap tightly in plastic wrap, and refrigerate for at least 2 hours, or up to 3 days. This step is non-negotiable for easy rolling.
3. Roll & Cut: Preheat oven to 350°F (175°C). Line baking sheets with parchment paper. On a lightly floured surface, roll one disc of dough to a consistent ¼-inch thickness. Use flour as needed to prevent sticking. Cut into shapes with cookie cutters and transfer to baking sheets, leaving 1 inch between cookies.

4. Re-Chill & Bake: Place the sheet of cut-out cookies in the freezer for 10 minutes before baking. This ensures sharp edges. Bake for 8-11 minutes, until the edges are just very lightly golden. The centers should look set. Do not overbake.
5. Cool Completely: Let cookies cool on the baking sheet for 5 minutes, then transfer to a wire rack to cool completely before decorating. This can take 1-2 hours.

6. Make the Royal Icing: In the bowl of a stand mixer fitted with the paddle attachment, combine sifted powdered sugar, meringue powder, and cream of tartar. With the mixer on low, slowly add warm water and extract. Increase speed to medium-high and beat for 2-3 minutes until stiff, glossy peaks form. To achieve a “flood” consistency for filling, thin small portions with water, a few drops at a time.
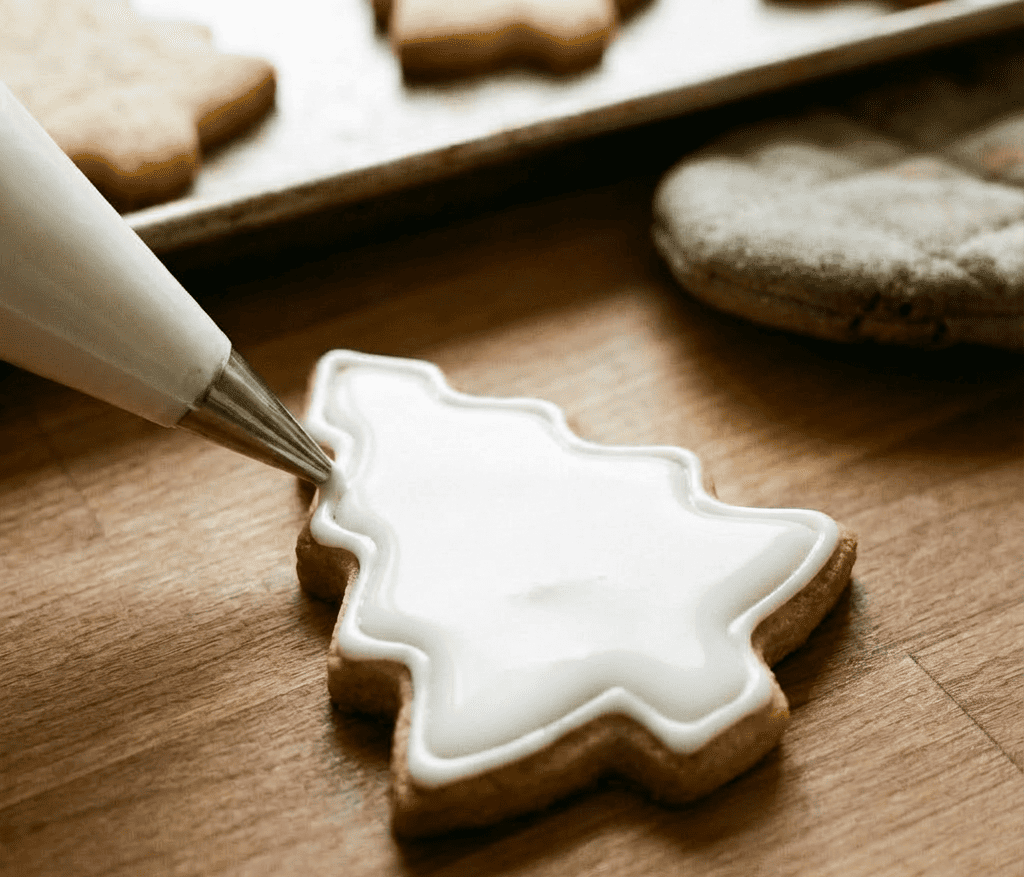
7. Decorate: Outline each cookie with thicker icing, then “flood” the center with thinned icing. Use a toothpick to spread it to the edges. Add sprinkles or allow the flood layer to dry completely (4-6 hours) before adding piped details with thicker icing.

Pro-Tips for Flawless Holiday Cookies
- Butter Temperature is Key: Butter should be cool to the touch but able to hold an indent when pressed—about 65°F. Too warm, and the dough will be greasy and spread; too cold, it won’t cream properly.
- Measure Flour Correctly: For accuracy, use a kitchen scale. If measuring by volume, fluff the flour, spoon it into the cup, and level it off.
- Re-Roll Smartly: Gather dough scraps, gently press together, re-roll, and chill again before cutting. Cookies from the first roll are always the prettiest.
- Icing Consistency is Everything: The “10-second rule” is your guide for flood icing: drag a knife through it; the line should disappear in 10 seconds.
- Storage & Gifting: Once icing is fully set, store cookies in a single layer in an airtight container at room temperature for up to 2 weeks. They ship and gift beautifully.
These Classic Christmas Cookies are the heart of a sweet and memorable holiday season.